
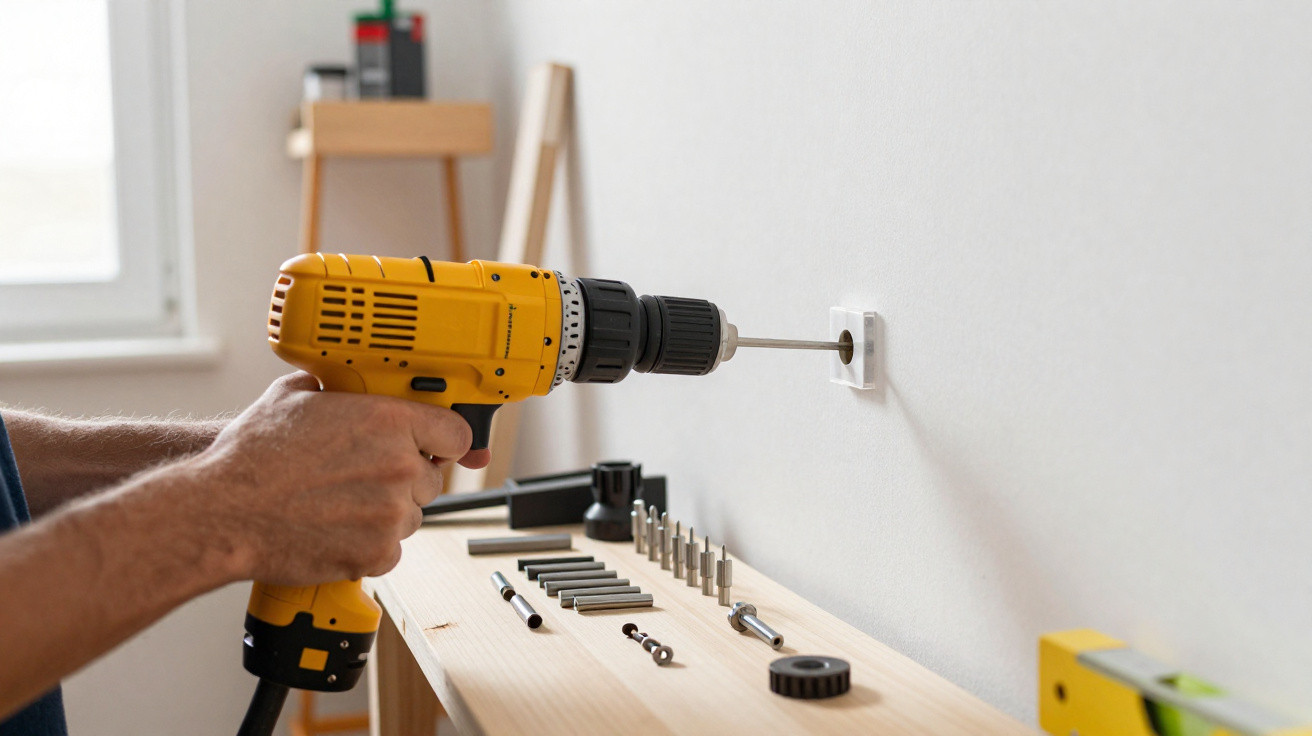
A picture frame on the floor, a shelf sagging, a TV that wobbles on the wall: the quiet nightmare awaiting anyone who takes a punt on “do-it-yourself”.
In a country where owning a power drill has become almost a household essential, plenty of people still trust their shelves to little more than a single hole in the wall. The pay-off often arrives months later: loose wall plugs, hairline cracks, and that creeping feeling that one extra kilogram could trigger a disaster. Behind this everyday domestic drama sits a rarely discussed technique used by professional fitters and installers-one that fundamentally changes how a wall plug behaves inside the wall.
Choosing the wall plug is still only half the story
You’ve heard the standard advice: the right plug for the right material. That remains true. What’s rarely mentioned is that how you prepare the hole-and how the plug expands within the wall-matters just as much as the plug you pick.
Working out what the wall is without breaking anything
Before you drill, you need to know what you’re dealing with. Solid masonry, concrete, hollow brickwork and plasterboard all respond very differently to the same wall plug.
- A hard, “dead” sound when you knock with your knuckles usually points to concrete or solid brick.
- A hollow sound is a strong sign of plasterboard or hollow brick.
- Fine white dust while drilling typically suggests plaster or gypsum blocks.
- Coarser, reddish dust is more typical of ceramic brick.
This quick check prevents a lot of failures. But it still doesn’t reveal the professionals’ little secret.
The understated trick of “anchored” wall plugs
Seasoned installers rarely stop at drilling, blowing out the dust and pushing in the plug. More often, they “anchor” the plug-creating a controlled environment inside the hole so it works as intended, without spinning, sliding out, or crushing the surrounding material.
The lesser-known technique is to turn a simple hole into a small anchoring chamber, tailored to the wall type and the weight of the item.
That “chamber” can be created in a few different ways: by inserting a small wooden sleeve, adding a bit of filler as reinforcement, or using a modest amount of resin or grab adhesive. The aim is not to “glue everything forever”, but to provide real support where the wall is weak or hollow.
Drilling isn’t just making a hole: it’s preparing the plug’s cradle
From the outside, it looks like it’s all about the drill. Behind the scenes, it’s a handful of small steps that make sure the plug won’t fail the first time it’s tugged.
Diameter and depth: keep it exactly right
This is a millimetre game. The hole diameter must match what’s printed on the plug packaging. “Eyeballing it” tends to create two common problems:
| Situation | What happens |
|---|---|
| Hole wider than specified | The plug spins, doesn’t expand properly, and loses grip over time. |
| Hole narrower than specified | The plug goes in distorted, cracks the wall, or expands unevenly. |
Depth matters too: drill slightly deeper than the plug’s length so it can seat and expand without bottoming out and being compressed at the back.
A clean hole gets you halfway there
Dust inside the hole behaves like a lubricant: it helps the plug rotate, slip, and gradually lose holding power. Experienced tradespeople rarely skip this.
Three seconds with the vacuum nozzle held to the hole is usually worth more than changing the wall plug three times.
If you don’t have a vacuum cleaner to hand, you can use a small air puffer, an empty syringe, or even a rigid straw to blow it out-taking care to protect your eyes. The goal is a hole that’s clean, dry and free of loose debris.
How the “secret” reinforced fixing technique actually works
Here’s the part people don’t talk about much: in weak or hollow walls, professionals often pair a mechanical plug with a second anchoring element inside the hole.
Internal reinforcement for hollow or tired walls
With cracked plasterboard, for example, even a toggle-style plug can fail if the board is crumbling. A common solution among fitters is to create a kind of “internal wedge”:
- Drill in a spot where the board feels slightly more solid.
- Slip a small wooden insert or short batten in behind the board, aligned with the hole.
- The plug then bears against that reinforcement rather than relying solely on weakened plaster.
With very fragile hollow bricks, another move is often used: partially fill the hole with a little quick-setting filler, a suitable mortar, or resin. The plug goes in while the material is still workable, ending up effectively “embedded” in a tougher block formed inside the brick.
When adhesive comes into play-and when not to use it
Some professionals apply a thin smear of grab adhesive or epoxy resin inside the hole before inserting the plug, particularly in very porous walls. This creates a firmer interface between the plug and the substrate.
The trick is using a small amount-just enough to fill micro-gaps-without turning the whole system into a single piece that’s impossible to remove later.
For wall-mounted kitchen cabinets, heavy TV brackets or suspended cupboards, combining a mechanical plug with chemical reinforcement significantly reduces the chance of gradual sagging over the years, especially in older flats.
Classic mistakes that bring down any shelf
Even with the right plug and a neatly drilled hole, certain habits undermine the fixing.
Rushing, the wrong hammer setting, and the wrong screw
Three missteps show up again and again during call-outs:
- Using hammer mode on fragile walls, which crumbles the material around the hole.
- Choosing a screw that’s thinner than the plug is designed for, preventing proper expansion.
- Overtightening in plasterboard, which pulls the board inwards and spoils the finish.
The screw and the plug are a system. When they don’t match, the load stops being spread properly and instead concentrates on small points-leading to cracks and looseness.
When to use each wall plug and reinforcement combination
Practical examples from real situations
Picture three scenarios commonly seen in Brazilian flats:
- Lightweight shelf on a concrete wall: a simple expansion plug, hole drilled to the exact diameter, and vacuum-cleaned. No added reinforcement.
- Wall cabinet on hollow brickwork: plugs designed for hollow masonry, a slightly deeper hole, plus a small amount of quick-setting filler in weaker voids.
- TV bracket on plasterboard: toggle or metal cavity fixings, a quick check of board strength, and internal timber reinforcement where there are signs of crumbling.
These combinations help stop the weight from being forced onto a single weak spot in the wall. In many cases, spreading the load across more fixing points matters as much as choosing the correct plug.
Risks, load limits and warning signs
Any reputable manufacturer states the recommended maximum load for each type of fixing on the packaging. Ignore it and you shift the risk onto anyone using the room. In children’s bedrooms and narrow corridors, falling shelves and TVs can cause serious injuries.
Some signs call for immediate attention: the plug spinning as you tighten the screw, excessive dust pouring from the hole, star-shaped cracking around the fixing point, or the feeling that the bracket “breathes” when you rest a hand on it. In these cases, persisting with the same hole rarely solves anything. Usually it’s better to add internal reinforcement-or, in extreme situations, move the fixing point entirely.
Small strategies that raise your DIY game
Fixing properly doesn’t mean packing the wall with cement. It means understanding how the plug–screw–wall combination behaves over time. If you like to think in scenarios, imagine the unit coping not only with the static weight of objects, but also the shock of a door slamming, a child leaning on it, or a more vigorous clean.
Thinking long-term makes it easier to size both the plug choice and any internal reinforcement. When future redecorating comes around, a well-planned fixing means fewer blown-out holes, fewer patches, and fewer improvised fixes. The professionals’ little-known method, in the end, is less a “secret trick” and more a collection of small, careful steps that turn each hole into a dependable point in the home.






Comments
No comments yet. Be the first to comment!
Leave a Comment