
The room hasn’t changed, but once you’ve noticed it, you can’t stop seeing it. Getting a professional in feels dramatic; putting up with it feels like giving in.
On a Saturday, as daylight stretched across the dining table, the line appeared-fine as a strand, bright as a flash. I went straight to the usual routine: damp thumb, a careful rub with my sleeve, a quiet vow to be more mindful next time. A neighbour popped round, spotted the scratch instantly, and wandered off to the kitchen as though he lived there.
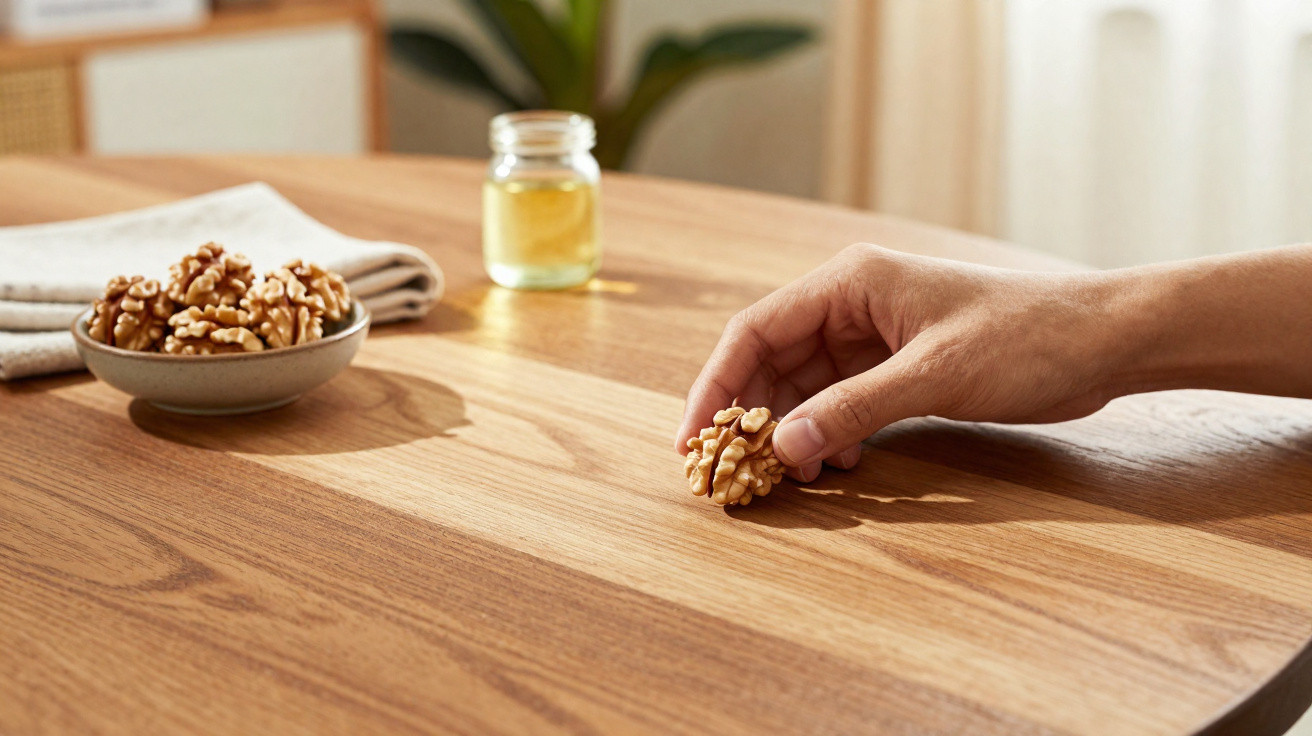
He returned holding a walnut. No pen, no paste-just half a shell and a pleased grin. With the calm focus of someone buttering toast, he rubbed the walnut meat along the scratch. Three gentle runs, a brief pause, then a light polish with a cloth. The pale line sank back into the grain, as if the table had finally relaxed. The room went strangely quiet.
It honestly looked like a bit of witchcraft.
Why small scratches shout so loudly
On finished timber, a tiny scratch isn’t only about missing colour-it’s about what happens to light. The clear top layer is meant to be smooth, so when the surface fibres are disturbed, the mark grabs the sun the way a stray cat hair shows up on a black jumper.
Most of us have had that moment: everything is tidy, yet your attention keeps snapping back to one sharp, bright blemish. I once watched a mate “hide” a coffee-table scratch with a coaster placed just so-which worked right up until someone shifted it for a few seconds and the whole trick fell apart.
The basic science is straightforward. A scratch creates a tiny channel that’s often drier and paler than the surrounding wood, so it reflects light differently. Add a compatible oil or wax and you change how light bounces. Partly fill the groove, deepen the colour slightly, and your eye stops stumbling over the damage.
The walnut trick, step by step
To do The walnut trick the right way, start by wiping the area with a barely damp cloth, then dry it fully. Crack a plain walnut and warm the nut between your fingers. Run the walnut meat over the scratch in short, easy strokes, always following the direction of the grain. Leave the oil to sit for about a minute, then buff with a soft cloth. If the line is still catching the light, repeat once-then stop and let it be.
Keep the pressure light. Pushing harder won’t make it work faster; it tends to smear instead. If the wood is very pale, begin with the gentlest touch and build gradually (and yes, hardly anyone has the patience for that every time). On darker-toned woods, a second pass often evens things out, and finishing with neutral beeswax can add a subtle, soft sheen.
This approach is best for surface-level scratches on solid timber or genuine wood veneer, particularly with oiled or waxed finishes. It can still help on varnished and lacquered pieces, though the change is usually more modest. If the item is laminate, test first on an out-of-sight edge and stop if the result looks blotchy. And if you have a nut allergy, avoid this method and choose a colour-matched wax stick instead.
“The walnut doesn’t ‘fix’ wood. It disguises the scratch so your eye reads grain again, not damage.”
- Follow the grain
- Try it in a hidden spot first
- Buff lightly a couple of times, not repeatedly
- Finish with a neutral wax if you want extra sheen
- For a deep gouge, reach for filler-not nuts
What people get wrong (and how to avoid it)
The first mistake is missing the cleaning step. Dust behaves like fine grit, and rubbing oil into dirt can leave a polished-looking halo. Wipe first, dry second, then apply the walnut. The other common error is overdoing it: three soft passes nearly always beat one heavy scrub.
Worries about colour are understandable. Walnut oil usually darkens a scratch just enough to blend, but on very pale oak it’s possible to create a new, slightly darker patch if you go too far. Work up slowly, stop early, and buff. If the scratch still looks too light, you can tint it with the tiniest touch of coffee on a cotton bud, then follow with oil. It feels like a small piece of hand-held magic.
Finish matters as well. Polyurethane forms a seal, so the oil can’t really soak in; you’re mostly tinting the mark rather than nourishing the surface. Oiled or waxed tops absorb a little more, which helps the blend. Take your time, check it in the same lighting that made the scratch obvious, and judge it by what you see-not by counting rubs. No sanding required.
Little upgrades, not perfection
The walnut method won’t make a chunk missing from an edge disappear, and it won’t remove a deep gouge. What it can do is turn down the “volume” of a bright scratch until it settles back into the natural pattern of the wood. Often, that’s all you need for the space to feel calm again.
There’s also something satisfying about it. Fixing a small problem with your own hands creates a quiet peace treaty with your furniture. Wood grain carries evidence of real life-keys tossed down, knees knocking, long dinners that run past midnight. When you soften the loudest marks, the rest starts to look like character rather than damage.
Some people want a museum-grade finish. Others prefer the mellow, lived-in look of a table that’s been properly used. Try the walnut today and you may find you see every bright little scratch that used to boss the room in a new way.
| Key point | Detail | Benefit for the reader |
|---|---|---|
| Natural blend | Walnut oils darken and lightly fill faint scratches | A fast, non-toxic way to hide marks |
| Right surface | Works best on real wood with oiled or waxed finishes | Helps you avoid trial-and-error on the wrong piece |
| Keep it light | Short strokes with the grain, then a gentle buff | A professional-looking result without the fuss |
FAQ:
- Will this work on a glossy, lacquered table? Yes-it can soften the look of light scratches, although the change is usually subtler than on oiled wood. Buff thoroughly and check it in the same light that shows the mark.
- Could a walnut stain my very light oak? It can if you apply too much. Use minimal pressure, build gradually, and stop as soon as the bright line blends in.
- I have a nut allergy-what can I use instead? Use a colour-matched wax crayon or repair stick, or combine a tiny amount of mineral oil with a hint of coffee for colour, then buff.
- How long does the effect last? Anywhere from weeks to months depending on use and cleaning. A quick rebuff or a wax top-up usually brings it back.
- What if the scratch is deep? Use a wax filler or wood putty matched to the colour, level it carefully, then wax or polish. Keep the walnut for fine surface lines.






Comments
No comments yet. Be the first to comment!
Leave a Comment