
In brief
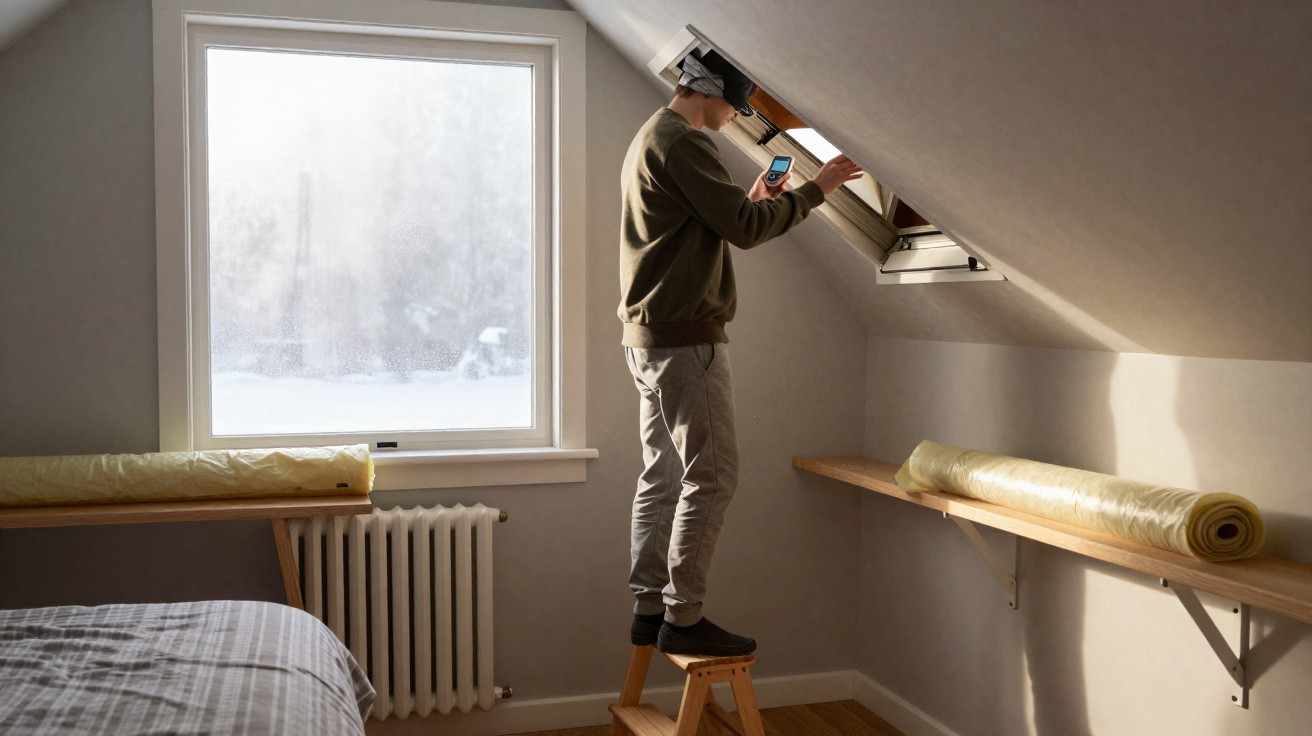
- Explains the science: stack effect, dew point, and slight upstairs positive pressure can push moisture towards cold glazing; cracking the loft hatch acts as a gentle pressure relief that encourages humid air into a ventilated loft, helping to reduce condensation with very little heat loss.
- Sets out where it helps-and where it won’t: it only works properly if the roof space is well ventilated; it supports (rather than replaces) extractor fans, trickle vents, and insulation; a clear Pros vs. Cons section keeps expectations realistic.
- A simple routine: open the hatch 10–15 mm for 10–20 minutes after showers and before morning heating; leave upstairs doors slightly open; run extractor fans; then shut the hatch-aiming for targeted pressure balance without chilling the house.
- Ties into the core fixes: combine it with trickle vents, warmer internal surfaces through insulation, intact vapour control layers, and clear eaves/ridge vents; avoid drying lots of washing indoors, which quickly drives humidity up.
- Evidence-led: rooted in principles from BS 5250 and a 1930s-semi example where windows became noticeably drier; a near-zero-cost step that can also inform larger upgrades such as MEV/MVHR or better glazing.
On frosty UK mornings, it’s common to find upstairs windows misted over and sills damp, even while the heating is doing its job. The radiator is seldom the real cause: it’s the interaction between moisture and air pressure in the upper parts of the house. One unexpectedly effective, no-tech tactic is to crack the loft hatch for a short period at the right moments, allowing buoyant air to ease the pressure balance and bleed warm, humid air upwards. By easing the slight positive pressure on the landing, you can lessen how strongly water vapour is driven towards cold glass and plaster. This piece breaks down the reasons it can help, the situations where it cannot, and how to use it sensibly alongside proper ventilation, insulation and everyday routines.
The Physics: Stack Effect, Dew Point, and Pressure Balance
Condensation appears when warm air carrying moisture cools until it reaches its dew point on a cold surface-often bedroom glazing or a poorly insulated part of the ceiling. In winter, the home’s stack effect makes this more pronounced. As warmed air rises, the top floor tends to sit under a slight positive pressure, while the lower levels experience relative negative pressure. If the loft hatch is well sealed, that rising air has fewer ways out, so moisture is more likely to build up around the landing and bedrooms where surfaces may be colder. More pressure means a stronger vapour drive towards the coldest materials.
Opening the hatch a small amount for a short, controlled window effectively provides a “relief valve”. The pressure difference between landing and loft lets warm, moist air gently spill into the roof void, where it should then disperse to outside via soffit or ridge ventilation. This can reduce vapour pressure without dumping large amounts of heat, because the gap is small and the timing is deliberate. The point is not to ventilate the loft using the house, but to stop humid air being held against cold upstairs surfaces.
This approach should sit alongside-never instead of-core measures such as trickle vents, extractor fans and adequate insulation that keeps internal surfaces above dew point. When these factors work together-pressure balance, reliable air change and warmer surfaces-condensation can drop markedly.
Why Cracking the Loft Hatch Works-and When It Doesn’t
In a lot of UK properties (particularly pre‑1990 homes), the upper storey can behave like a moisture “reservoir” after overnight breathing, showers, or indoor clothes drying. A brief, intentional crack of the hatch allows that reservoir to equalise with the ventilated loft, reducing the vapour push towards glazing and cooler plasterwork. Provided the loft is properly ventilated, this small purge can bring down upstairs humidity at the exact times condensation would otherwise show up. It’s best thought of as pressure steering: you’re guiding buoyant, damp air in the direction it naturally wants to travel, rather than letting it linger against cold panes.
However, there are important limits. If there is no continuous ventilation at the eaves and ridge, you may simply move moisture into a stagnant roof space-which is undesirable for rafters, joists and insulation. Equally, during very cold spells, or in homes with persistently high humidity, this alone will not resolve underlying causes such as weak bathroom extraction, closed/blocked trickle vents or missing insulation. Cracking the hatch can be useful triage, but it is not a cure-all for structural moisture problems.
- Pros: Quick to test; no tools required; improves pressure balance; can reduce morning window wetting; costs nothing; works well alongside fans and vents.
- Cons: Depends on a well-ventilated loft; a small heat penalty if done too often; can disturb dust if opened too far; unsuitable where roof ventilation is missing or impaired.
A Five-Minute Routine: Practical Steps for UK Homes
Keep openings short and well-timed-use them when humidity rises or when the stack effect is strongest. Early morning and late evening are often the sweet spots, particularly after showering or after a night with doors shut. A narrow gap for a short time works better than a wide gap for ages-think millimetres and minutes, not inches and hours. Leaving bedroom doors slightly ajar helps air move towards the landing, and bathroom extractors should be used with overrun where available. The aim is to knock down the peak humidity, not cool the house.
For best results, combine the hatch method with straightforward good practice. Use trickle vents (left slightly open in winter), avoid drying laundry in bedrooms where possible, and improve insulation or cold glazing when you can. Check that loft insulation is not blocking eaves ventilation and that any vapour control layers remain intact. Pressure relief is most effective when indoor surfaces are a little warmer and there is a real path for moist air to exit to outside.
- Crack the loft hatch 10–15 mm for 10–20 minutes after showers and before the morning heating cycle.
- Leave upstairs doors ajar during the purge so the pressure relief is shared.
- Run bathroom/kitchen extractors; avoid introducing competing downdraughts from open chimneys.
- Shut the hatch fully once panes clear; don’t leave it open all day.
- If the loft is dusty, avoid large openings; a simple compressible seal can help control the gap size.
Evidence, Case Studies, and Cost–Benefit
The underlying moisture behaviour is set out in BS 5250 (control of condensation), which focuses on reducing vapour entry, raising surface temperatures and maintaining ventilation routes. Viewed through that lens, a small hatch crack is a practical nudge: it directs buoyant, humid air into a ventilated buffer space before it has the chance to condense on internal finishes. In audits I’ve seen alongside building surveyors, households that used a brief hatch crack at peak humidity often reported noticeably drier windows and less morning wiping. Its appeal is that it’s reversible, easy to observe within days, and effectively free.
Take a typical 1930s semi with existing loft ventilation, upgraded insulation and double glazing. Despite fans and trickle vents, the bedrooms still fogged up. Introducing a 10–12 mm hatch crack for 15 minutes after showers and again at bedtime, and making sure insulation was not obstructing the eaves vents, reduced visible condensation within a week. The cost was negligible, the comfort impact small, and it helped bridge the gap while saving for bigger improvements (for example, MEV/MVHR or secondary glazing on colder reveals). If loft ventilation is missing, fit remedial vents before relying on this tactic.
| Practice | Pressure Effect | Condensation Risk | Notes |
|---|---|---|---|
| Hatch fully closed | Higher upstairs positive pressure | Higher on cold panes and ceilings | Relies entirely on fans/trickle vents |
| Hatch cracked briefly | Gentle relief to loft | Lower if loft is ventilated | Use 10–20 minutes at peak humidity |
| Improve ventilation/insulation | Balanced, steady-state | Lowest with warm surfaces | Best long-term fix; higher upfront cost |
Cracking the loft hatch isn’t a silver bullet, but it is a practical, testable nudge that helps you see how pressure balance is affecting your own home. Use it with disciplined extraction, open trickle vents, clear eaves and warmer internal surfaces to reduce condensation from multiple directions. Treat it as a no-cost investigative step that can point you towards the most worthwhile investment next. If you tried a controlled hatch crack for a week-timed after showers and before the morning heat-what changed on your windows, and which upgrade would the results push you towards next?






Comments
No comments yet. Be the first to comment!
Leave a Comment