
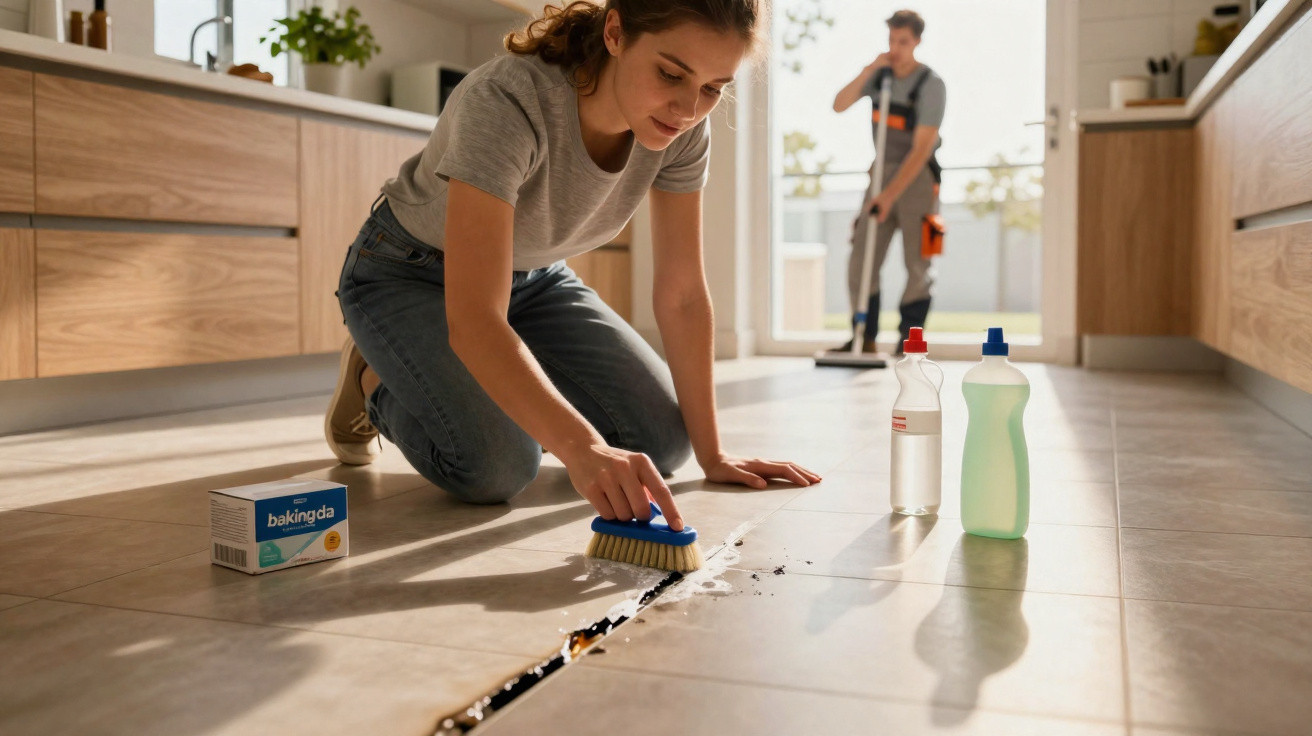
The clip runs for under 30 seconds: two hands over a beige tiled floor, a grout line that’s gone almost black. Baking soda is shaken over it like seasoning, followed by a splash of white vinegar and then a squirt of washing-up liquid. After a brisk scrub with a toothbrush, the grout jumps from dull grey to a clean cream, like someone’s applied a floor-only beauty filter. On-screen text declares: “Three kitchen ingredients, tiles like new. No chemicals. No effort.” The comments fill up with heart emojis and “Where has this been all my life?”
A few swipes later, the mood shifts completely. Builders and professional tilers post stitched rebuttals: the same ingredients, the same before-and-after framing - but labelled “fake” and “dangerous for your joints”.
So what’s actually going on when grout becomes a viral science experiment?
Why three kitchen ingredients suddenly rule TileTok
The formula is easy to memorise: baking soda, white vinegar, and a touch of washing-up liquid. It gets mixed in whatever’s to hand - an old mug, a yoghurt pot, a jar from the recycling. Smeared onto grubby grout, it sits there like batter, and the brush is presented as the wand that makes the magic happen. That effortless simplicity is exactly why the videos are so bingeable.
The emotional pull is stronger still. Grout is the part of a “clean” home that still looks guilty. You can wipe down a worktop in moments, but the dark lines between tiles can sit there for months, quietly accusing you. A hack that claims to erase years of grime with three cupboard basics feels like permission to stop feeling bad about the floor.
On TikTok and Instagram, you’ll find the same makeover playing out in kitchens and bathrooms everywhere. A young renter in London records her “deposit-saving hack” in a tiny shower room. A dad in Texas tackles the hallway at midnight because the children have finally gone to sleep. One popular clip insists “97% of people don’t know this grout trick,” as though there’s a secret society of sparkling-tile owners keeping it to themselves.
Most people recognise the moment that drives the obsession: bright daylight hits the floor and you suddenly realise just how grimy the grout looks - and it’s oddly as if your own tiles are judging you. With millions of views, this isn’t only cleaning content. It’s low-level panic, broadcast in real time.
Tradespeople watch these clips with a different set of priorities. They don’t see a satisfying transformation; they see cement-based grout that’s porous, full of tiny voids, and joints that may already have been weakened by years of wet mopping. Combine an acidic liquid (vinegar) with an abrasive powder (baking soda) and then scrub enthusiastically, and you can be rough on that surface.
Their core point is straightforward: the “like new” look on camera can sometimes come from removing - or scratching away - the grout’s top layer, not just lifting dirt. The sudden pale colour isn’t always only grime disappearing; it can be material loss too. Installers argue that influencers are either misleading viewers or overselling the result, because the clip ends right after the foam is rinsed away. Any real downsides often appear later: joints that begin to crumble, or grout that stains more quickly than it used to.
How the viral grout recipe really works on your tiles
This is the routine people are copying, step by step. Baking soda is sprinkled straight onto the grout, leaving a thin, gritty line. White vinegar is then sprayed or poured on; it reacts immediately and foams up, which looks dramatic on video. Next comes a quick squirt of washing-up liquid, making the mixture feel more slippery and spreadable.
After a couple of minutes, the scrubbing starts: a stiff brush or an old toothbrush, working in short, rapid strokes along each joint. Greyish foam gathers and gets wiped away with a cloth or pushed along with a mop. Finally, warm water is used to rinse, followed by the reveal - lighter grout, cleaner-looking tiles, and that satisfying before/after shot people can’t resist.
What tends not to get mentioned is how physically demanding the scrubbing becomes once you’ve been at it for 10 minutes. Many of the neat time-lapses skip the pauses: the aching wrist, the break to shake out your hand, the “I need a coffee” moment. Realistically, no one is doing this every day.
Another detail that often gets left out is the rinsing. If a residue remains - soapy and slightly salty from the baking soda - it can attract dirt again more quickly. That can create the impression that the grout has “suddenly got worse”, when what’s really happened is that the surface has been left a bit tacky. The reveal is the star of the video; the dull, second rinse rarely makes the cut.
Some creators have started bringing professionals into the discussion. One tiler I spoke to by phone put it bluntly:
“Baking soda and vinegar will clean on the surface, fine. But if someone does that every month, they’ll call me in three years asking why their grout is crumbling. And they won’t blame TikTok, they’ll blame ‘bad tiles’.”
So what do experienced installers recommend in place of full faith in a three-ingredient miracle? Usually, it’s a practical (and not very glamorous) checklist:
- Use pH-neutral cleaners for weekly mopping rather than vinegar, particularly on natural stone.
- Try any DIY mixture in an inconspicuous spot and leave it 24 hours before committing to the whole room.
- Clean once but rinse twice, so residue doesn’t sit in the joints.
- In busy, wet areas, think about resealing grout every one to two years.
- If the grout is already cracked, no foaming mixture will repair it - it needs fixing, not scrubbing.
Between viral shortcuts and builder warnings, where do you stand?
The disagreement between influencers and builders is really about time. On a phone screen, a bathroom floor only has to “live” for 15 seconds - long enough for a dramatic transformation, not long enough to show whether grout softens or chips a year down the line. On a building site, that same floor is expected to keep performing for fifteen years or more. Those perspectives don’t often overlap.
That’s why the reality of the three kitchen ingredients is less sensational, and more ordinary. Used occasionally, gently, on ceramic tiles with grout that’s still in good condition, the mix can lift surface dirt and brighten the colour. Used frequently, aggressively, or on delicate stone and tired joints, it can gradually wear away what you’re trying to protect. A viral hack doesn’t magically suspend the laws of chemistry or wear and tear.
| Key point | Detail | Value for the reader |
|---|---|---|
| Know what you’re cleaning | Ceramic and porcelain cope with mild DIY mixes better than natural stone or grout that’s already damaged. | Lowers the chance of dulled tiles, etching, or grout failing earlier than it should. |
| Use the hack sparingly | Occasional spot treatment is preferable to scrubbing the entire floor every month with abrasive or acidic mixes. | Helps keep that “like new” look without cutting the grout’s lifespan short. |
| Finish the job properly | Rinse thoroughly and, in high-use areas, consider resealing grout after deep cleaning. | Slows down rapid re-soiling and supports stronger joints for longer. |
FAQ:
- Can baking soda and vinegar really damage grout? Yes - particularly cement-based grout if it’s done often and scrubbed hard. Baking soda’s abrasiveness plus vinegar’s acidity can gradually wear the surface, leaving joints more porous and easier to break down.
- Is there a safer DIY mix for tiled floors? Many professionals suggest a few drops of mild washing-up liquid in warm water for routine mopping, with a soft brush on grout where needed. For deeper cleans, a pH-neutral tile cleaner is generally kinder over time than harsher home mixtures.
- What about natural stone like marble or travertine? This is where builders are especially clear: avoid vinegar and any other acids. They can etch and dull the finish. Use products labelled as safe for stone, and always test in a hidden area first.
- My grout looks blotchy after using the viral trick – is it ruined? Not necessarily. It may simply be unevenly cleaned, or it may have taken up moisture. Let it dry completely, then check it again in daylight. If it looks pitted, sandy, or is cracking, regrouting or a grout colour sealer could be the next step.
- Should I trust influencer cleaning hacks at all? Treat them as inspiration, not a set of instructions. Check what surface they’re using, look for input from professionals in the comments, test in a discreet corner, and ask yourself whether the on-screen result is likely to last longer than the video.





Comments
No comments yet. Be the first to comment!
Leave a Comment