
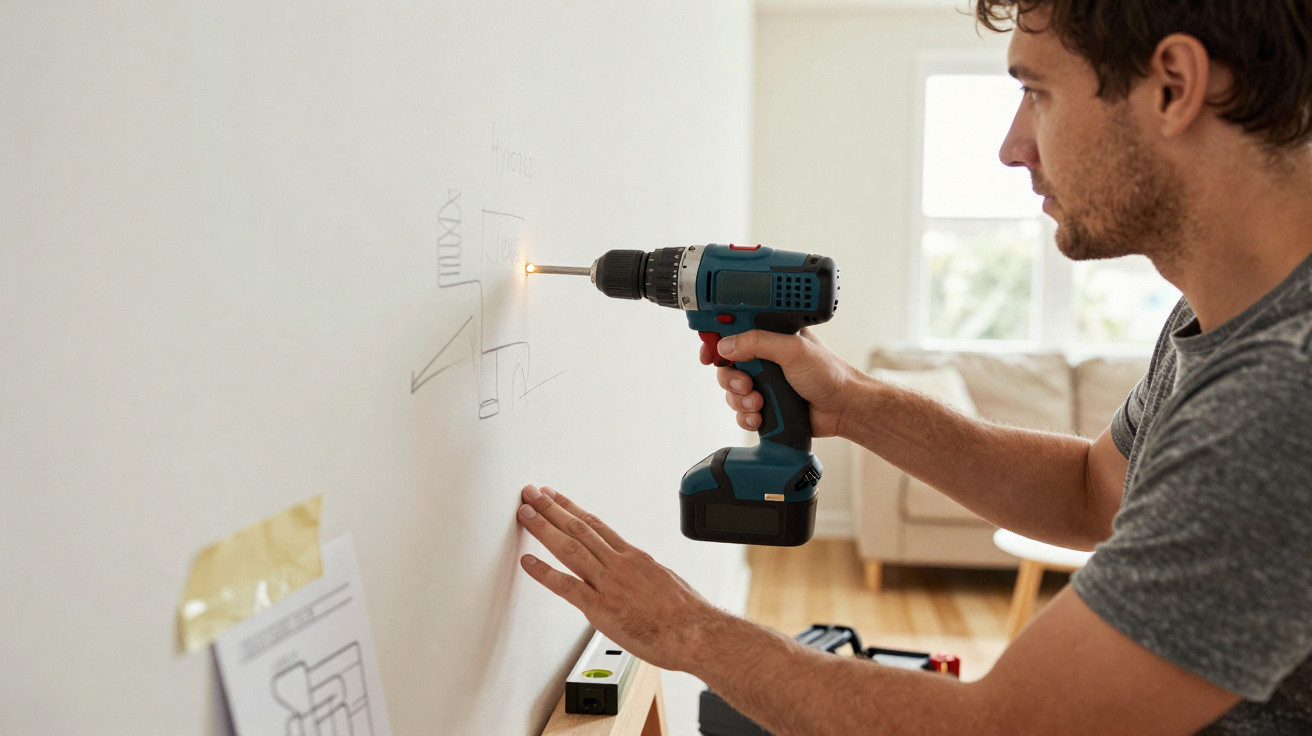
Drilling into a wall without knowing where the pipes run can turn a straightforward DIY job into a leak, damp ingress and broken tiles. Before you pick up the drill, a few quick checks can greatly reduce the risk of hitting pipework.
Why is drilling without locating the pipes dangerous?
Concealed water pipes sit behind plaster, tiles or concrete, but they can still be damaged by drill bits and screws. Putting a hole in the wrong place may lead to an immediate leak, a damp patch, reduced water pressure and a costly repair.
Plumbing is the system used to move fluids through pipes and pipework. In houses and flats, that network travels through walls, floors and service risers, so you need to be cautious before any drilling or fixing.
Before drilling, look for these warning signs:
- Water points: taps, stopcocks and showers suggest where pipes are likely to run.
- Vertical logic: pipe runs often go up and down close to plumbing fixtures.
- Neighbouring room: bathrooms, kitchens and utility rooms may share the same “wet wall”.
- Sound: light tapping can reveal differences between hollow and solid sections.
- Detector: metal and moisture detectors reduce risk before drilling.
How can you follow the wall’s plumbing logic?
Start by noting where there are taps, showers, stop valves, filters, washing machines and toilet flush connections. In many installations, pipes follow vertical routes above and below these points, which is why drilling within that band can be risky without checking first.
It also helps to consider what is on the other side of the wall. A living room wall that seems completely dry may back on to a bathroom, kitchen or utility area; if so, pipework could be hidden exactly where you plan to fit a shelf, picture or heavy bracket.
How do you use the sound test before drilling?
Gently tap the wall with your knuckle, comparing several spots around your chosen area. Sections that sound very hollow, very solid, or change abruptly can signal a different material, an electrical conduit, an old repair or an internal void.
Stop before you drill
The wall often gives clues before the drill bit does.
Map taps, stop valves and water points before you mark the hole.
If you are unsure, use a detector or call a professional before drilling.
This method will not pinpoint pipework with absolute accuracy, but it does help you spot that the wall is not uniform. For best results, combine it with plumbing logic, checks of neighbouring rooms and-when available-building plans, photos from the build, or renovation records.
Use the sound test like this:
- Pick the area where you intend to install the item.
- Tap nearby points above, below and to each side.
- Compare hollow, dull, metallic or very solid sounds.
- Avoid drilling in lines that align with taps and stop valves.
- Pause the job if you notice damp, mould or blistering paint.
Do metal and moisture detectors really help?
Yes. Affordable detectors can be very useful for home improvements. Basic units can pick up metals, conduits and nearby structures; moisture meters highlight areas that may indicate a leak, damp ingress or water collecting behind the wall finish.
Ideally, move the detector slowly in several directions, marking any warning points with tape. Even so, it does not replace common sense: PVC pipes may not show up on a metal detector, and moisture readings can vary depending on plaster, paint and the environment.
In practice, combine these tools and checks:
- A metal detector to locate metal components, screws, conduits and older pipework.
- A moisture meter to flag wet or suspicious areas.
- A plumbing plan, if available, to confirm routes.
- A visual check of water points on both sides of the wall.
- A specialist professional if the hole must be large, deep or in a critical area.
What should you do if you suspect a pipe in the wall?
Just as a wall that feels damp internally-despite no recent rain-can suggest a hidden leak, any sign of moisture near the drilling point deserves attention. In these situations, do not force the installation and do not try to fix it with only filler or paint.
If there is a nearby plumbing point, bulging tiles, a musty smell, or a detector shows moisture, choose a different location or call a plumber. Prevention costs less than opening up the wall later: a few minutes of checking can save you from leaks, damp problems and loss during the renovation.





Comments
No comments yet. Be the first to comment!
Leave a Comment