
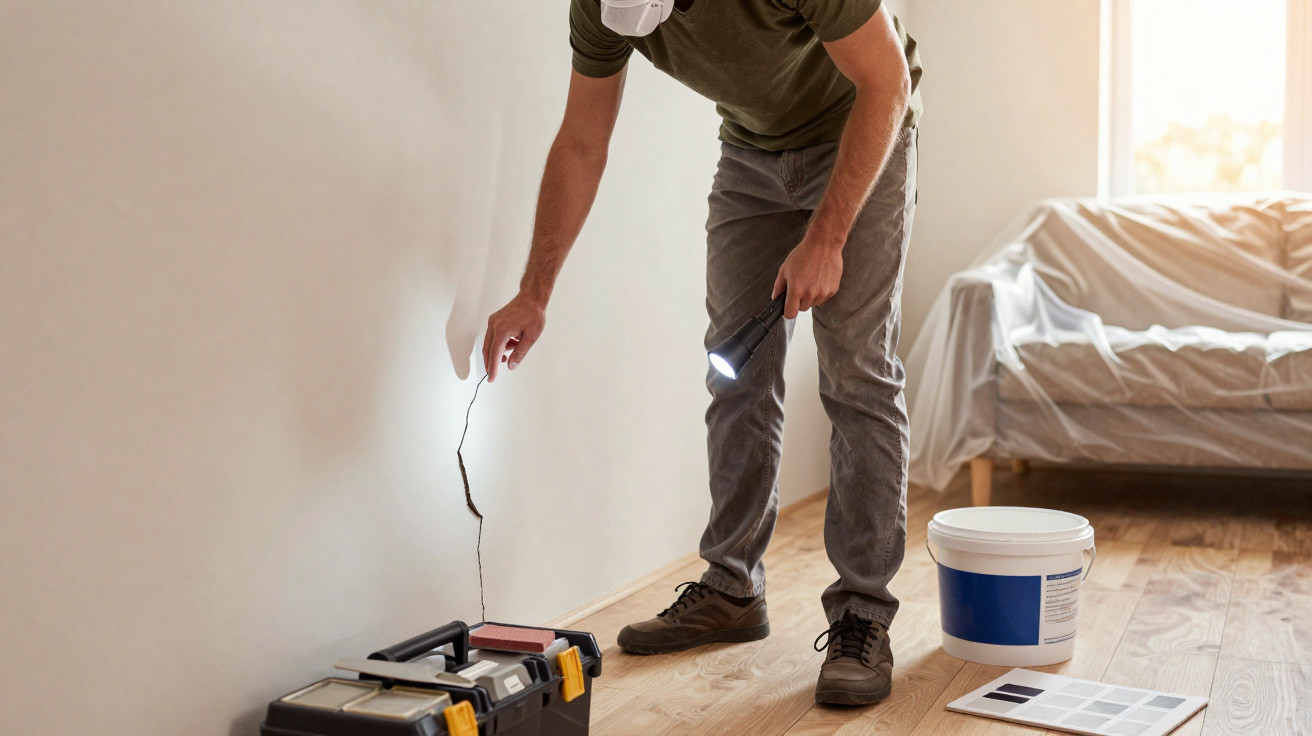
Renovation work often brings to light issues that have been hidden for years, such as cracks in walls concealed behind wallpaper or older plaster finishes. These openings can point to normal structural movement, shrinkage in mortars, or even poor workmanship from previous jobs. In many cases, the homeowner only realises how extensive the defect is once coverings are stripped away and they are faced with walls marked by open lines and uneven areas.
How can you identify cracks in walls before starting the repair?
Before settling on any technique, you need to understand what kind of crack you are dealing with. Not every gap suggests a serious structural fault; many are simply surface imperfections in plaster or the final finish.
In practical terms, people usually separate the problem into three main scenarios by looking at depth, width, and where the crack sits. This initial assessment guides the choice of material, the repair method, and whether it is necessary to bring in a suitably qualified professional.
- Surface micro-cracks: hairline marks that affect only paint or skim/filler;
- Medium cracks: reach into the plaster and can be felt when you run a finger over them;
- Deep fissures: extend into the masonry or concrete, sometimes passing right through the wall.
What are the traditional and modern methods for treating cracks in walls?
Cracks in walls are often linked with expensive fixes, yet there are long-established approaches that still perform reliably. Methods using straightforward materials remain common in internal refurbishments of flats and masonry-built houses.
Alongside ready-mixed products, certain techniques continue to work well when the base is properly prepared and curing times are followed, helping to stop the cracks from coming back.
- Reinforcement with fibres and adhesives: using fibres (such as hessian-type fibres) soaked in glue to fill and “stitch” the crack;
- Levelling with gypsum fillers or mortars: smoothing the area after the initial fill;
- Use of reinforcement tapes: applied over recurring cracks and plasterboard joints to reduce future opening.
Which materials should you use for internal and external areas with cracks?
Indoors, the priority is usually a smooth finish and a long-lasting repair, without direct exposure to rain and strong sunlight. Outdoors, the focus shifts to resistance against moisture, temperature changes, and ongoing movement in the structure.
When choosing the most suitable material, it is worth considering not only the size of the opening but also the wall type and whether further movement is likely.
- PVA-based adhesives: act as a bonding agent between the inside of the crack and the filling material;
- Gypsum fillers or fine plaster: level the surface and allow effective sanding;
- Ready-mixed interior fillers: ideal for the final layer before painting;
- Polyurethane foam: suited to larger openings on external walls and should be covered once cured;
- Silicone sealant: used for small fissures, expansion joints, and wet areas because it remains flexible.
How do you choose the best method for each type of crack in a wall?
Selecting a repair method depends on practical factors such as the crack’s size, where it is located, and the type of substrate. With concrete, clay brick, concrete block, or plasterboard walls, the match between product and base material directly affects the quality of the finish.
It is also sensible to think about future maintenance. Where movement is common, more flexible products tend to reduce the return of cracks. At the same time, well-prepared surfaces-by removing loose material, cleaning thoroughly, and allowing proper curing time-lead to repairs that last longer and a stable finish over the years.






Comments
No comments yet. Be the first to comment!
Leave a Comment