
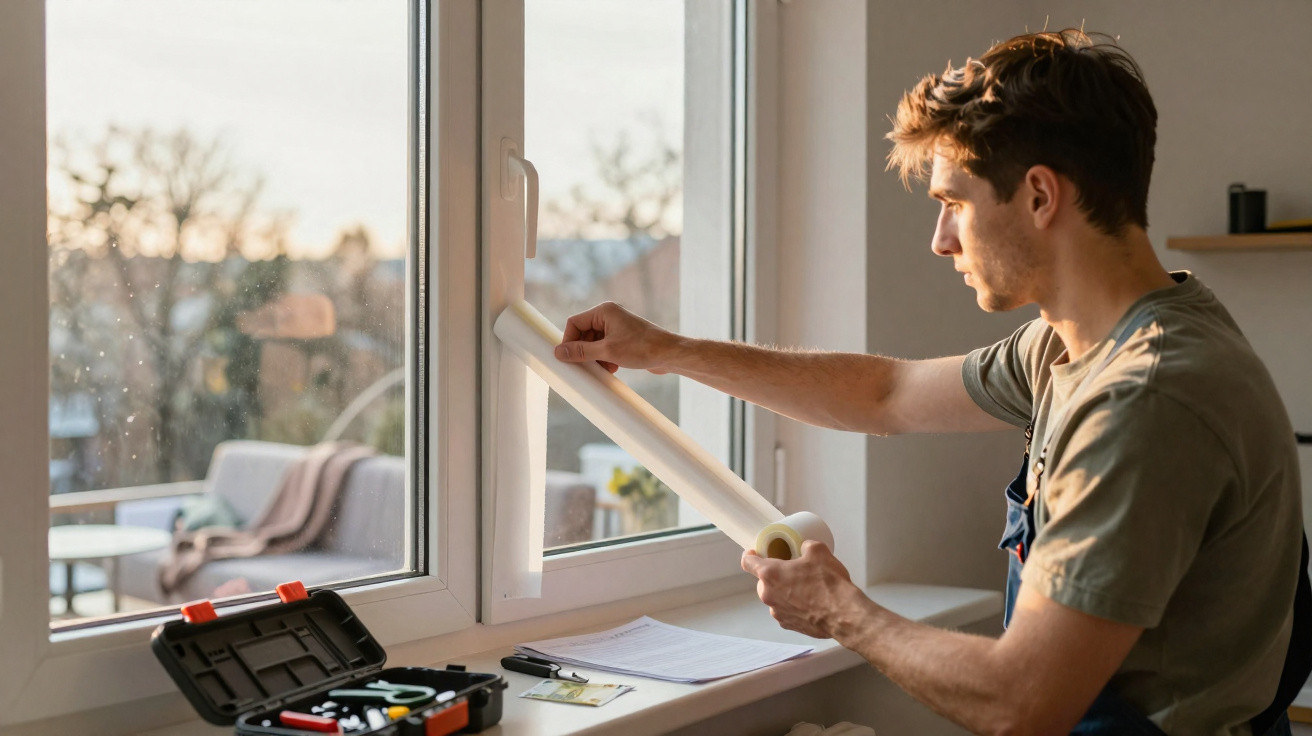
Many people do not realise how straightforward the answer can be.
In countless homes, wind seems to whistle through the windows even though you cannot see where it is coming from. The heating is working flat out, electricity or gas bills climb, yet the cold remains. With a modest purchase from a DIY shop and a little patience, this issue can be tackled surprisingly cheaply – often for less than £10.
Why you feel cold by the window even when the room is 22°C
The number shown on the thermostat is not the only factor that determines whether a room feels comfortable. Sit near a cold window and you can soon feel chilly, even when the room itself is warm. Specialists refer to this as the “cold surface” effect: the cool pane draws warmth away from the body, causing the perceived temperature to drop.
Many people then instinctively turn up the heating. While this can help in the short term, it also pushes up costs. In many cases, the glass is not the main culprit at all; tiny gaps around the frame are. Cold outdoor air continuously enters through these cracks.
Invisible air currents around windows can noticeably increase heating costs – entirely unnecessarily.
Across an entire house or flat, these tiny gaps add up to a genuine drain on energy. It is particularly worthwhile checking these overlooked areas when energy prices are fluctuating and saving money is an ongoing concern.
The real weak point: worn window seals
Windows are opened and closed every day, exposed to sunshine, rain and frost. This constant strain affects the materials, especially the rubber seals. Material that starts out soft and flexible becomes hard, brittle and cracked over the years.
Typical signs include:
- The rubber feels dry and firm.
- Small cracks or chipped sections are visible.
- After the window has been opened, the rubber stays flattened rather than springing back.
Even a gap just a few millimetres wide is enough to let cold air enter freely. This is where the budget-friendly trick comes in: replacing the seal with a suitable new one can greatly improve insulation – often for well below £10 per window front.
A narrow sealing strip made from rubber or foam can make the difference between a draughty corner and a cosy favourite spot.
The sheet-of-paper test: check your windows in 10 seconds
You do not need a thermal imaging camera to establish whether a seal still works. A sheet of printer paper is perfectly sufficient. Many tradespeople use this straightforward technique in their everyday work.
The test, step by step
- Open the window sash fully.
- Place a sheet of A4 paper on the frame, roughly in the middle.
- Close the window so that half the sheet is trapped inside and half remains outside.
- Turn the handle fully to the locked position.
- Pull the paper and see what happens.
The result is clear:
- The paper tears or is held firmly: The compression pressure is correct, so the seal is still serviceable here.
- The paper slides out effortlessly: Air can pass through at this point too – the seal is no longer sealing properly.
Repeat this test at several points on every window: at the top, bottom and sides. This creates a small “map” of the weak spots.
Finding the right window seal type at the DIY shop
Once they reach the aisle containing sealing profiles at the DIY shop, many people discover just how extensive the choice is. Different shapes, thicknesses and materials mean it is easy to put the wrong roll in the basket. Two criteria bring order to the confusion: profile shape and gap width.
Which profile is suitable for which gap?
Common self-adhesive profiles are identified by letters that broadly reflect their shape:
- E-profile: for narrow gaps of around 1 to 3.5 millimetres
- P-profile: for medium-sized gaps of around 2 to 5 millimetres
- D-profile: for larger gaps of up to around 7 millimetres
As a rough rule, an E- or P-profile is often enough when the window still closes easily but a draught can be felt. If you already need to press firmly to close it, the old seal was probably thicker – in that case, a D-profile may be appropriate.
Material: low-cost option or long-lasting choice?
There are usually three main groups on the shelf:
- Foam seals: very inexpensive, ideal for tenants or as a short-term solution; they often last only one to three heating seasons.
- Rubber profiles: slightly more expensive, but more robust and flexible for longer.
- EPDM seals: a specialist, durable rubber; resistant to UV light and weathering, making it a good choice for anyone who does not want to make repairs every year.
Anyone who spends a few pounds more on a high-quality rubber profile will barely need to worry about their window seal for years.
Before sticking: remove old residue thoroughly
Many attempts fail not because of the new seal, but because of the surface beneath it. If fresh material is applied over dust, grease or crumbling remnants of old rubber, the self-adhesive layer quickly loses its grip.
Prepare the area as follows:
- Remove old seals with a craft knife, scraper or sturdy plastic scraper.
- Carefully scrape away residue without damaging the frame.
- Wipe the area with a cloth and a little alcohol, such as methylated spirits, or a mild cleaner.
- Allow everything to dry completely.
Spending ten to fifteen minutes on each window pays off several times over, as the new seal will adhere much more effectively.
Applying a new seal: working slowly pays off
Replacing the seal itself appears simple – and that is precisely why people are tempted to rush it. It is better to work slowly and neatly than quickly and unevenly.
How to fit self-adhesive profiles correctly
Use the following method for stick-on foam or rubber profiles:
- Peel away the backing film in small sections rather than exposing the entire roll at once.
- Begin at one corner and press the profile onto the frame without stretching it.
- Apply even pressure with your fingers or a soft roller.
- Finish corners neatly and leave no gaps; cut precisely rather than pulling the seal to fit.
If the profile is stretched too much, it will later shrink back and create gaps again. It is better to apply it with slight slack and press it down firmly.
When using a cartridge
Silicone or specialist rubber compounds supplied in cartridges require a little more care. Apply the material evenly into the groove or along the joint. Consistent thickness, no breaks and a smooth continuous application are essential. Always follow the manufacturer’s guidance on curing time before using the window heavily again.
Operate the windows carefully during the first few days – this allows the new seal to settle perfectly.
What difference does it really make? Costs and effects
Materials for a standard flat window often cost between £5 and £10, and multipacks for several windows can work out cheaper still. Those fitting seals to several windows in a detached house can generally manage with less than £20 per home.
The benefits can be noticed in several ways:
- No more noticeable draught around the sofa or desk.
- A considerably more comfortable temperature near windows.
- The heating can often be set 1 to 2 degrees lower.
- Measurably lower energy use, potentially saving a double-digit amount in pounds each month depending on the starting situation.
Checking seals briefly before every heating season and upgrading them where necessary creates a kind of maintenance routine against rising heating costs.
When replacing window seals is no longer enough
Despite all the benefits, there are limits. If frames are warped, fittings are damaged, or the glass is very old and single-glazed, even the best seal cannot work miracles. Additional measures can then help:
- Have the fittings adjusted so the sash sits against the frame correctly again.
- Close shutters consistently at night to protect the window surface.
- Use heavy curtains to reduce the effect of the cold further.
- Consider replacement windows with better thermal insulation in the medium to long term.
Tenants should speak to their landlord before undertaking more substantial work. Most tenancy agreements allow the replacement of self-adhesive sealing profiles without any difficulty – the change is reversible and will generally improve the condition of the property.
Practical additions for even greater comfort
Alongside seals, several other inexpensive adjustments can further improve the indoor climate. Draught excluders at doors stop cold air from hallways or communal stairwells entering living spaces. Rugs on cold floors help prevent feet from getting as cold, which increases the perceived temperature.
Anyone who likes technical gadgets can combine these measures with smart thermostats. They lower the temperature automatically when nobody is at home, then warm the property in good time before someone returns. Together with well-sealed windows, this creates a much more efficient overall setup – with noticeably lower energy consumption and no loss of day-to-day comfort.





Comments
No comments yet. Be the first to comment!
Leave a Comment