
It could be the corner of your dining table, the arm of a much-loved chair, or the vintage chest of drawers you tracked down on a rainy Saturday. One moment the timber looks perfect; the next, a pale line catches the light as if it’s yelling, “Look at me.” You run a fingertip over it, hoping it’s just a bit of dust. It isn’t.
Later, someone drops a suggestion as if it’s nothing: “Have you tried rubbing a walnut on it?” It sounds like a prank. A snack doubling as a repair kit? You shrug and give it a go, half laughing at yourself. Then the mark softens, darkens, and starts to blend in. It doesn’t vanish like a film trick. It simply looks… less upsetting.
That small moment-standing in your kitchen with a cracked nut in your hand-leads to a bigger question.
Why on earth does a walnut work on scratched wood?
The first time you watch it happen, it feels like a social media gimmick: a hand, a scratched tabletop, a slow rub with a broken walnut, then a dramatic before-and-after that looks like witchcraft. But on real furniture, it doesn’t perform like a daft hack. It behaves like something quietly smart.
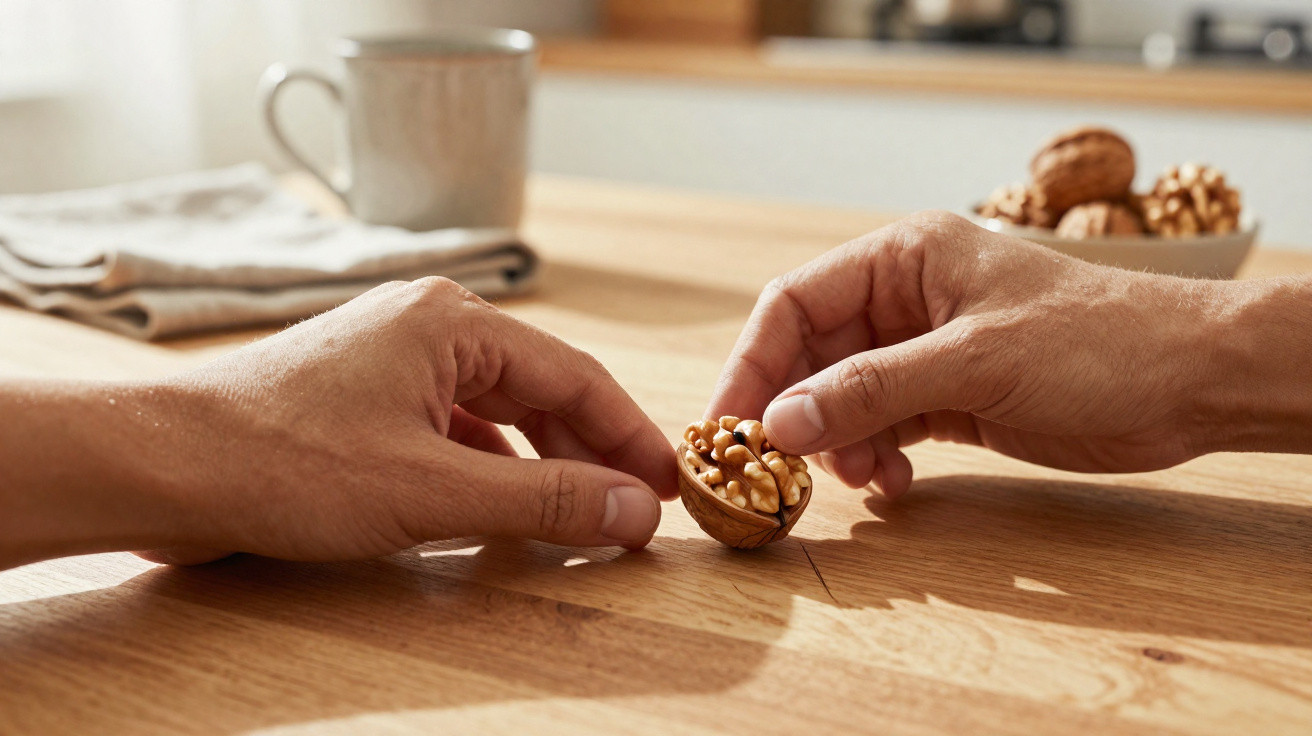
As the shell is already off and the nut warms slightly in your fingers, you press it into the scratch and the colour begins to shift. The pale, exposed wood takes on a warmer tone. That bright, raw line loses its shine and starts to merge with the surrounding grain. It won’t be flawless, but your eye stops snapping straight to the damage-and that small change alters how the whole piece feels.
There’s a reassuringly simple reason. Walnuts contain natural oils and pigments. When you rub them into a scratch, the oils soak into the dry, exposed fibres. What looked chalky and thirsty becomes nourished and faintly glossy. Because the walnut’s flesh is close to many mid-range wood tones, it gently tints the damaged area. With less contrast, your brain reads the scratch as far less dramatic.
At a microscopic level, the softened nut also leaves behind fine particles that settle into the groove. They won’t repair a deep gouge, but they can soften tiny, sharp edges. This isn’t a joiner’s fix; it’s a clever bit of camouflage that borrows colour and sheen from the nut itself. And for most of us, that’s exactly what we want for a lived-in piece of furniture-one that holds memories as much as it holds plates or books.
How to use a walnut on scratches without making things worse
The method is almost ridiculously straightforward. Hold a half walnut in your hand-raw, unsalted, and nothing fancy. First, wipe the scratched area with a soft, slightly damp cloth, then let it dry. The aim is simply to remove dust and crumbs so the oil can actually reach the wood.
Next, rub the walnut firmly along the scratch, always following the grain. Several short passes work better than one long swipe. You’ll notice the nut softening a little as it warms-let it. After about 20–30 seconds, stop, wait another minute, then buff the area lightly with a clean, dry cloth. That final buff spreads the oil, lifts any excess, and evens out the shine. If the scratch is still calling attention to itself, repeat.
Let’s be honest: nobody does this every day. You remember the walnut trick when a mark annoys you enough-not as some daily ritual-and that’s perfectly fine. This is a quick save, not a new religion of furniture care. Still, it helps to keep a few gentle boundaries in mind.
Avoid this on very light woods-bleached oak, pine, or maple-if you’re attached to their pale look. Walnut can darken the scratch too much and leave a brown streak. Always test underneath the table or on the back of a leg first. And skip it on high-gloss lacquered finishes or plastic veneers: the oil tends to sit on top, smear, and can leave a greasy halo.
Be cautious with antiques or anything genuinely valuable. If you’re unsure, a professional restorer is a safer choice than improvising with whatever’s in the snack bowl. And don’t expect miracles on deep gouges or chipped edges. The walnut trick is closer to concealer than surgery: it softens, disguises, reassures. It doesn’t rebuild missing wood.
There’s also a reason this small fix feels unexpectedly good.
“I’ve watched people’s shoulders literally drop when the scratch fades,” says a London-based furniture restorer. “It’s not just the table they’re fixing, it’s the guilt they’ve been carrying about damaging it.”
That tiny improvement becomes a quiet act of care. You’re telling the object-and yourself-that flaws are worth tending to rather than hiding away in embarrassment. On a tired table in a busy kitchen, that matters more than a showroom-perfect finish.
For quick reference, here’s a practical crib sheet to remember before you crack that nut:
- Use raw, unsalted walnut halves only.
- Test first on a hidden area of the same piece.
- Rub along the grain, never across it.
- Buff thoroughly to avoid oily marks.
- Accept that it’s camouflage, not a full repair.
What this tiny hack says about how we live with objects
There’s something almost gentle about the way a walnut meets a scratch: you, a piece of fruit, and a surface that’s seen real life. It’s a small action, yet it feels oddly personal. You aren’t binning the table or hiding it under a huge runner to pretend nothing ever happens at home.
Instead, you’re doing just enough to make the damage easy to live with. You’re not erasing the story, and you’re not trying to freeze the piece in time. You’re simply reducing the contrast so your eyes can relax. In a way, that reflects how we treat our homes in general: we patch, soften, and adapt. We don’t reset everything to zero whenever something picks up a scar.
Once you understand the role of walnut oils, you start spotting similar gentle fixes elsewhere. A dab of olive oil on a dry chopping board. A little beeswax worked into the seams of a worn leather bag. A slice of lemon to lift a stain from a cutting surface. None of these are grand gestures; they’re everyday ways of saying, this still belongs here.
That’s also why the walnut trick spreads so easily. You demonstrate it to a friend over dinner, send it in a text, or mention it to your parents when they complain about their scratched sideboard. It travels not only as a hack, but as a small philosophy of care-wrapped up in an ingredient you might already have in the kitchen.
| Key point | Detail | Why it matters to you |
|---|---|---|
| Natural walnut oils | Walnuts release lightly tinted oils that soak into exposed wood fibres | Helps you understand why the trick genuinely works, rather than just copying it |
| Best use cases | Light surface scratches on mid-toned real wood with a matte or satin finish | Prevents disappointment on pieces where the hack won’t look good |
| Mindset shift | From “perfect surfaces” to cared-for, lived-in furniture | Turns a simple hack into a calmer, more sustainable way of owning things |
FAQ:
- Does the walnut trick work on all types of wood? Not really. It tends to work best on real wood in medium to darker tones with a natural or lightly sealed finish. On very light woods, high-gloss lacquer, or imitation wood veneer, the effect is weaker and can look uneven.
- How long does the walnut effect last on a scratch? On a low-traffic surface, it can last for weeks or even months. On a table or desk that gets heavy use, you may need to touch it up occasionally-especially after cleaning or polishing.
- Can I use any nut, like almonds or peanuts, instead of walnut? Walnuts are especially effective because of both their colour and their oil content. Almonds and peanuts are usually too pale and don’t provide the same tint or coverage. Stick to plain walnuts for the best result.
- Is there a risk of staining or making the scratch darker? Yes-particularly on light wood. That’s why a hidden patch test matters. If it darkens too much, wipe it promptly with a clean cloth and a tiny amount of mild soapy water, then dry thoroughly.
- What if the scratch is very deep or the wood is chipped? A walnut can only reduce how noticeable it looks; it won’t repair the damage. You may need wood filler, sanding, and a proper stain-or professional help. The nut trick is camouflage, not reconstruction.





Comments
No comments yet. Be the first to comment!
Leave a Comment