
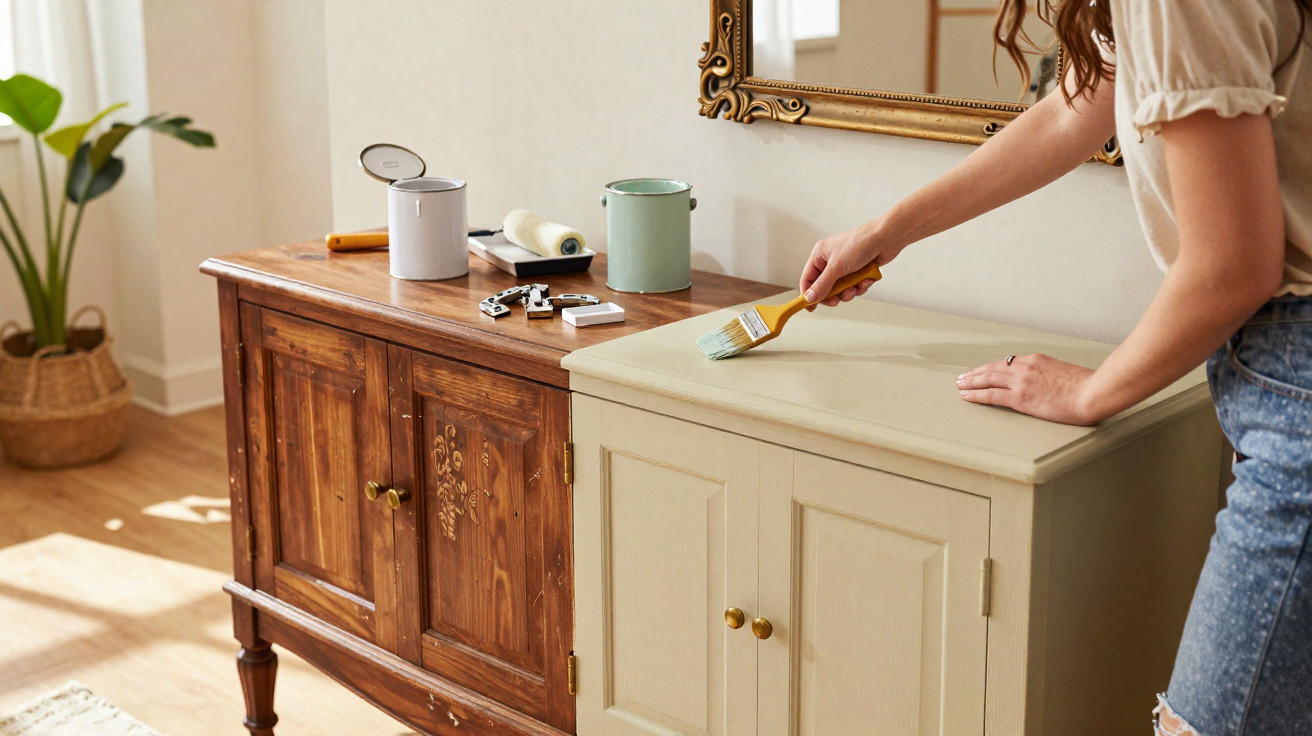
Many people feel torn about old family furniture: it is sturdy and full of memories, yet completely at odds with their own interior style. Rather than spending heavily on something new, a clever makeover can turn these bulky classics into surprisingly modern focal points with little money and a bit of time.
Why you should not throw away old furniture too quickly
They are still found in many homes: the imposing dresser from a grandparent's kitchen, the dark chest of drawers in a bedroom or the carved hall stand in the entrance hall. They can look heavy, dated and sometimes even slightly oppressive. Even so, they rarely end up at the recycling centre because the emotional attachment is too strong.
This is exactly where creative restyling comes in. Instead of ordering a standard new item made from chipboard, the existing piece remains in use but is given an entirely different appearance. Taking this approach offers several benefits at once:
- Sustainability: The furniture stays in circulation, so nothing new has to be manufactured.
- Cost savings: Paint, primer and handles usually cost between €30 and €100 – far less than a new quality piece of furniture.
- Quality: Many older cabinets are made from solid wood and are considerably better than today's cheap alternatives.
- Sentimental value: The piece retains its story while its exterior is adapted to suit your own style.
“A well-executed makeover can keep an old heirloom practical for everyday use for another five to ten years – both visually and functionally.”
Anyone who embraces the process often notices an unexpected result: the former “lump” changes from an irritating presence into a favourite piece that guests immediately notice.
The essential starting point: careful preparation, not a rushed job
Many DIY enthusiasts reach straight for the paint tin, then later wonder why the finish flakes away or looks patchy. Elisabeth López, an expert in creative DIY projects, therefore places consistent emphasis on a thorough start. It determines both durability and appearance.
Clean, dismantle and protect
A deep clean should always come first. Otherwise, grease, dust and residues from old furniture polish can prevent fresh paint from adhering. A mild cleaner, warm water and a lint-free cloth are ideal. For stubborn layers, use a degreaser from a DIY shop.
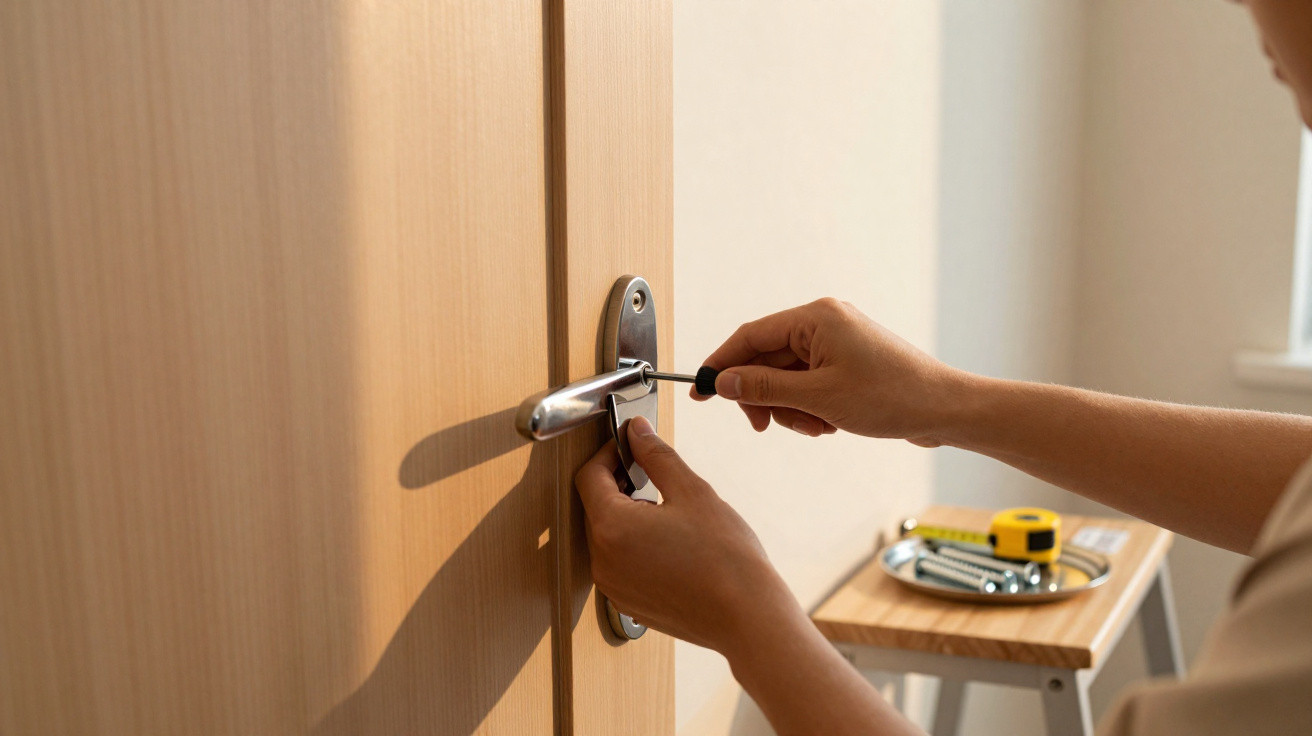
Next, remove every handle, knob and, where possible, the doors as well. Spending a few extra minutes at this stage makes painting much easier and neater later on. Cover the floor around the furniture with dust sheets or old blankets, and protect skirting boards with masking tape.
“The better the furniture is prepared, the fewer problems you will have while painting – and the more premium the finish will look.”
Why quality primer is almost more important than paint
Rather than laboriously sanding the entire piece down, López relies on a suitable primer. She uses a bonding primer designed specifically for wooden surfaces. This layer:
- stops old stains from bleeding through;
- ensures the new paint provides even coverage;
- avoids hours of sanding back to bare wood.
Apply the primer thinly and evenly using a roller and brush. Smooth out small runs immediately rather than allowing them to dry. Then wait until every surface is genuinely dry. Only then can you continue neatly.
Furniture makeover step by step: creating a modern one-off piece
Once the primer has dried, the creative stage begins. López prefers water-based enamel because it has very little smell, is easy to apply and dries quickly.
Applying paint correctly
The process can be broken down into a few straightforward steps:
- Apply a light coat: Roll over large surfaces with a foam roller, without loading it with too much paint.
- Paint corners and moulding: Use a smaller brush to cover edges, decorative details and grooves cleanly.
- Allow it to dry: Let the first coat dry completely before applying the next one.
- Add a second and third coat: Continue with thin layers – two or three coats usually look more professional than one thick layer.
- Correct runs: While still fresh, small drips can be removed with a cloth and a little acetone.
One important professional tip is to leave doors slightly open while painting. This prevents them from sticking to the cabinet when the paint dries.
Light shades instead of heavy wood finishes
If you want to brighten a dark cabinet, soft whites and cream shades are often the best choice. They make a room appear larger and remove the visual heaviness from substantial furniture. López often chooses slightly warm shades such as off-white or creamy beige, similar to DIY-shop products such as “Cream 5”.
Combining a smooth roller for broad surfaces with a fine brush for details is what makes the difference: brush marks are largely eliminated, and the furniture can look almost as though it was factory-painted.
Gold handles and matt protection: details define the look
Once the paint is in place, it is time to focus on the smaller visual details. New handles alone can often make an entire item of furniture look more contemporary.
New fittings for an immediate effect
López likes to spray old metal handles with matt gold paint. Against a pale cabinet, this looks refined without becoming overly showy. For a more minimalist result, replace the old fittings entirely with:
- simple matt-black bar handles;
- delicate brass knobs;
- leather loops for a Scandinavian touch.
“A set of new handles can move a piece of furniture in an entirely different style direction – from country house to industrial.”
Protective varnish or wax extends your enjoyment
To keep the fresh paintwork looking good for a long time, use an appropriate protective finish. A transparent matt clear varnish is suitable for heavily used surfaces, such as chests of drawers or sideboards. Those who prefer a more natural feel can choose colourless wax, applied in a thin layer and then polished.
With this seal, the result will remain attractive for five to ten years, provided it is not subjected to severe knocks or scratches. Small areas of damage can be touched up locally if needed.
How to avoid common furniture makeover mistakes
Despite clear instructions, mishaps are common on a first project. Most are easy to prevent:
- Applying too much paint at once: Several thin coats are better than one thick one, as this avoids drips and cracks.
- Insufficient cleaning: Dust, grease and silicone residues are the main causes of paint flaking off.
- Using unsuitable tools: A cheap, coarse roller leaves marks, whereas good-quality foam rollers create smooth surfaces.
- Ignoring drying times: Allow enough time between coats, otherwise the paint will smudge.
- Choosing unsuitable colours: Overly bright shades can quickly become overwhelming on large pieces of furniture. Restrained, versatile colours are a better option.
If you are unsure, test the chosen colour first on the inside of a door or on the back panel. This lets you assess calmly how the shade works with the room's light.
When the effort is especially worthwhile
A makeover is particularly suitable for solid, sturdy furniture whose basic structure is still sound. Small scratches or dents can be filled with wood filler before applying primer. With swollen, damaged chipboard panels or unstable construction, however, consider carefully whether the effort is truly worthwhile.
The transformation is especially striking with large living-room cabinets, old kitchen dressers or bulky bedroom chests of drawers. These pieces strongly shape a room, so changing their look often alters the entire feel of the space. Anyone who has seen how much a freshly painted family piece of furniture can brighten an interior will reach for their roller and brush much more confidently next time.
Beyond the visual improvement, working on your own furniture offers something else: it makes the piece even more personal. Every brushstroke and every newly fitted screw shows that something was not simply discarded, but deliberately developed further. In this way, a seemingly outdated heirloom becomes furniture that suits modern life while still carrying a story that no new purchase can provide.

Comments
No comments yet. Be the first to comment!
Leave a Comment