
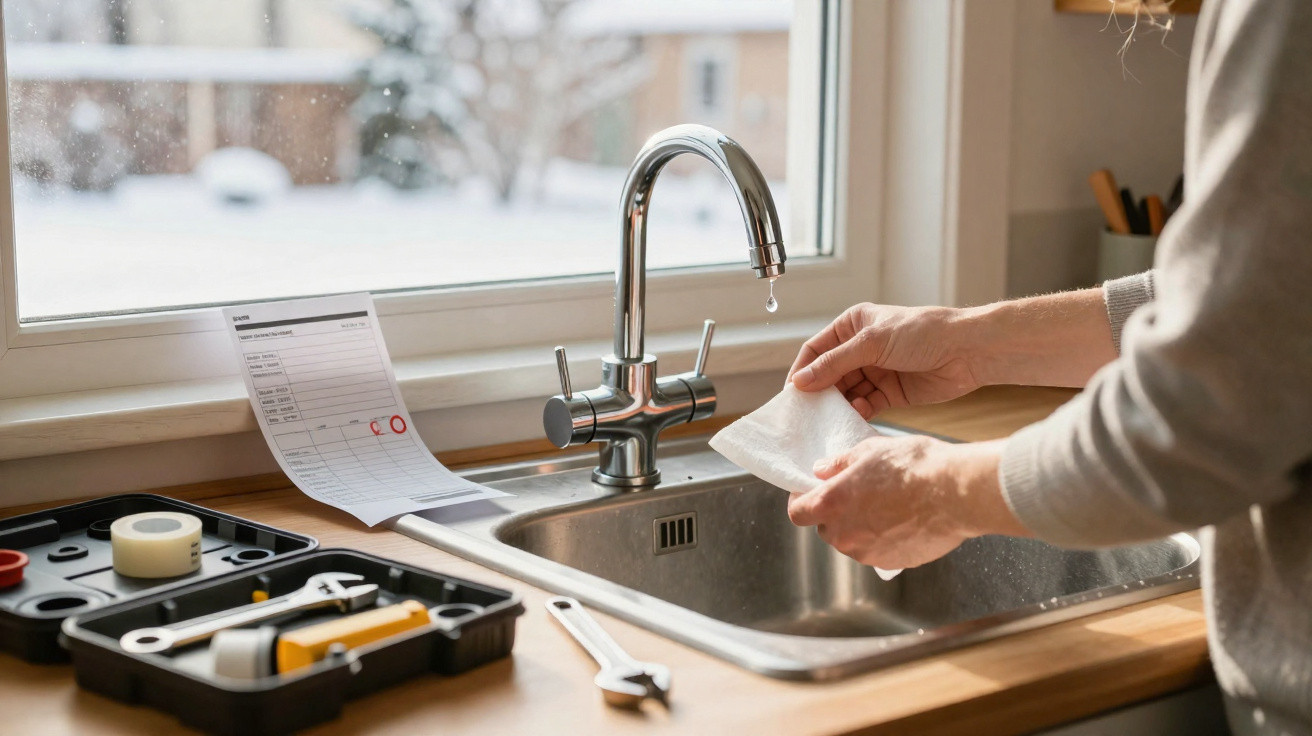
With energy bills to think about and water charges creeping up, a quiet “drip, drip, drip” from a tap can quietly empty your wallet, squander treated drinking water and even leave your pipework more vulnerable when the temperature falls.
When a drip in January becomes a budget problem
A slow leak in the colder months is easy to dismiss as background sound. There’s no flood under the sink, the flow still feels normal, and with a busy routine it’s tempting to park it for “later”. That choice to wait can end up costing more than most people expect.
A tap leaking once per second can waste close to 100 litres of water a day – the volume of a full hot bath.
Over a full year, that adds up fast: a steady trickle can reach 35 cubic metres. In a typical home in the UK (and likewise in the US), you are effectively paying for dozens of baths that nobody actually took. Once wastewater charges or sewer fees are included, the total rises again.
Winter makes the timing worse. Heating costs are usually at their highest, while water and sewer tariffs continue to increase. If a household budget is already under pressure from energy prices, fixing a preventable leak is one of the simplest ways to create a bit of breathing space each month.
How much does a small winter leak really cost?
Tariffs vary by area, but the outcome is consistent: what looks like a minor drip can turn into a surprisingly large annual bill.
| Leak rate | Water wasted per day | Water wasted per year |
|---|---|---|
| 1 drip / second | ≈ 100 litres | ≈ 35 m³ |
| 2 drips / second | ≈ 200 litres | ≈ 70 m³ |
| Fine trickle | ≈ 500–1,000 litres | ≈ 180–365 m³ |
Put realistic prices against those volumes. In many places, once water and sewer charges are combined, wasting 35 m³ can mean a three-digit hit in pounds or dollars over twelve months. If the leak rate doubles, the additional cost can start to look like a month of winter heating.
And that spend buys water that has already been pumped, filtered, disinfected and transported-only to go straight down the drain. With drought warnings and ageing infrastructure increasingly in the news, that kind of avoidable loss sits uneasily alongside the wider push to reduce household consumption.
Frost turns a harmless drip into a plumbing hazard
The cost isn’t the only concern. Cold weather shifts the risk in a big way. A small leak from an outside tap, in an unheated utility area, up in a loft space or in a garage can help create the very problem pipes are most prone to in freezing conditions: ice plugs.
When water freezes in a confined pipe, it expands and can burst copper or plastic sections, sometimes behind walls or under floors.
Water that is slow-moving-or trapped because of a leaky section-cools more quickly than pipework that drains properly or carries a stronger flow. That can create a local freeze point which grows into a solid blockage. Pressure then builds behind the plug until something fails.
When it goes wrong, it can be severe. A split pipe may soak insulation, buckle floors, mark ceilings and destroy stored items, while also triggering an emergency call-out at the coldest time of year. Insurers regularly deal with winter claims tied to frozen pipes that started as small leaks left unaddressed.
Sorting a dripping tap in January, then, is more than a tidy-up job. It can be a straightforward preventive step against much more disruptive water damage when a cold snap arrives.
The winter repair kit: three basics that spare you a call-out
During freezing weather, plumbers are in demand and call-outs can be costly. Yet plenty of everyday tap leaks don’t require a full professional visit. With patience, basic care and a handful of inexpensive items, many people can handle simple issues themselves.
The adjustable wrench and PTFE tape: a reliable winter double act
You don’t need an overflowing toolbox. For a typical compression or pillar tap, two basics usually cover most of the work:
- An adjustable wrench that can grip different nut sizes.
- PTFE thread-seal tape to tighten joints and stop seepage.
An adjustable wrench makes it easier to remove tap heads and internal components without needing to find the exact spanner size. PTFE tape-the thin white strip sold in DIY shops-helps close tiny gaps in threaded joints. Applied to the threads before you put things back together, it improves the seal where metal meets metal.
A roll of PTFE tape costs less than a coffee and can stop leaks worth hundreds of pounds or dollars.
If you keep both close at hand, you can deal with a leak on a dark winter evening rather than waiting days for a plumber to fit you in.
Shutting off and draining: the pre-repair ritual that avoids chaos
Before you loosen any fitting, deal with the supply first-and that means more than turning the leaking tap off.
Start by finding your home’s main stop valve (stopcock), or the isolation valve serving that specific line. Turn it fully off. Next, open the dripping tap and-if you can-open other taps that sit lower in the system. This helps drain the pipework and relieves pressure.
Working on pipework that is drained and calm lowers the chance of sudden sprays. It also gives you the chance to check the tap body, nearby tiles and adjacent joints for hairline cracks or old limescale trails that can indicate more advanced wear.
Inside the tap: a simple part often causes the winter drip
In many traditional two-handle taps, the culprit is often a low-cost rubber washer, or a ceramic cartridge that has gradually worn. Once that part no longer presses cleanly against its seat, water finds a route through and shows up as a regular drip.
Reaching the mechanism without scuffs or panic
Getting to the internal parts can feel daunting, but it usually follows a familiar sequence. At the top of the handle there is often a decorative cap or coloured insert; a small flat screwdriver-or the tip of a knife-can lift it carefully. Underneath is a screw that secures the handle.
After the handle is removed, you’ll see the top of the valve assembly. This is where the adjustable wrench is useful. To prevent scratches, place a soft cloth between the wrench jaws and the chrome, then turn the body anti-clockwise to loosen it.
Once the cartridge or valve is out, the signs are often obvious: a crust of limescale, a ring of debris, and sometimes rust on older fittings. Leaving the parts to soak in warm water with white vinegar helps break down mineral deposits and leaves a cleaner surface for the replacement washer or cartridge to seal against.
Washer swap and PTFE tape: the 30‑minute fix that stops the drip
On a traditional valve, a small rubber washer sits at the bottom, held in place by a screw. If it appears flattened, split or ragged, it won’t seal properly. Replacing it with a new washer in the same size will often stop the drip immediately.
Most basic tap leaks vanish after replacing a worn washer and adding fresh PTFE tape on the threads during reassembly.
Before refitting the valve body, wind PTFE tape around the threads in the same direction you will tighten, so it beds in rather than bunching. Two or three wraps are normally enough. Smooth it down with your fingers, screw the valve back into the tap, then gently tighten it with the wrench.
With modern mixer taps that use ceramic cartridges, the principle is similar. Instead of changing a washer, you replace the cartridge as a whole, matching it by manufacturer or measurements. It is still typically inexpensive compared with buying a new tap or paying for an urgent visit.
Testing, listening and doing a quick “paper check”
After reassembling, restore the water. Open the stop valve slowly to prevent pressure shocks through the pipework. Then operate the repaired tap a few times-opening and closing it-to help the parts settle.
Then check your work. Dry the area thoroughly with a towel, and run a strip of kitchen paper around the base of the tap, the joints, and underneath if you can reach.
If the paper stays dry after a minute or two, the new seal is doing its job and the winter drip has ended.
The first payoff is the quiet. That intermittent sound that used to carry through the house at night disappears, leaving the room still again. It can seem small, but many households notice a real reduction in low-level irritation once the repetitive noise is gone.
The second payoff arrives later on: a water meter that spins more slowly, and a bill that no longer shows the unexplained jump associated with “higher than average use”. Whether you rent or own, those savings can help offset other seasonal spending, from heating fuel to festive costs.
Beyond the tap: other winter weak spots to watch
Fixing one leak often prompts a wider look around the home. The underlying pattern is the same: small issues that are easy to ignore until cold weather makes them worse.
A few checks that pair naturally with a winter tap repair include:
- Feeling along accessible pipework in lofts and garages for damp insulation or icy patches.
- Watching for slow weeping around radiator valves or boiler connections.
- Making sure outdoor taps have covers or insulated sleeves fitted.
- Checking for unexplained meter movement when all taps and appliances are switched off.
None of these checks demand specialist skills. They simply improve the odds of catching another slow problem before it turns into a soaked floor or a collapsed ceiling in the middle of a cold spell.
There can also be a learning benefit at home. When children or teenagers see a parent take a tap apart and talk through water use, the cost of that otherwise invisible resource becomes more real. That awareness often carries over into shorter showers, running full washing-machine loads, and fewer taps left running while teeth are brushed or washing-up is done.
From a policy perspective, if more households adopted small repairs, pressure management and routine leak checks, it would reduce strain on stretched water networks. In some areas, water companies already provide discounts, free leak alarms or smart meters that highlight unusual night-time usage. Used alongside straightforward fixes-such as stopping a winter tap leak-those tools give households a practical way to cut waste while safeguarding their own finances.




Comments
No comments yet. Be the first to comment!
Leave a Comment