
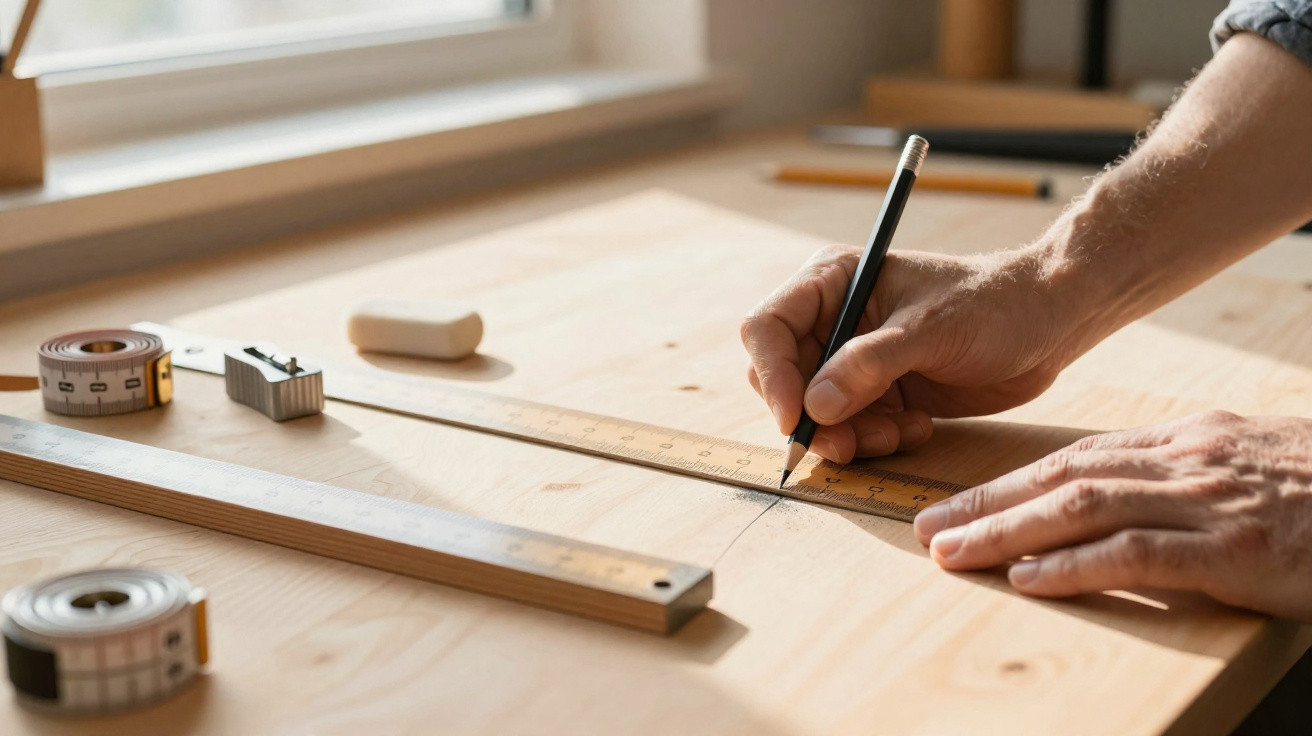
The carpenter narrowed his eyes, ran his thumb along the grain, sketched a faint graphite guideline… then wiped it clean with a quick sweep of his sleeve.
The board had already been trimmed, the hinge was already fixed in, and the door sat just slightly out of true-only a fraction, but enough that you noticed it every time it swung shut. He studied the uneven gap, muttered to himself, and instead of grabbing a laser or a gleaming gauge, he picked up a short, blunt, soft pencil. He drew one light line-more a smudge than a stroke-and suddenly the fix became obvious. The shift came down to one small choice: how to mark the spot.
Using a soft pencil to mark this area improves alignment accuracy. Quietly, reliably, and almost without leaving a trace. And once you clock it, you start spotting the same trick in all sorts of places.
Why a soft pencil changes everything you line up
In a workshop, few things look more insignificant than a pencil. It sits near the bench edge, coated in dust and curls of shaving, like something left over from an old school case. Yet that unassuming bit of graphite often decides whether a shelf reads as level, a frame sits square, or two cuts meet as they should. A soft pencil doesn’t shout across the surface-it quietly indicates where the edge truly belongs.
Pull a soft, slightly rounded point across timber, plasterboard or even the face of a metal tape, and it lays down a darker, wider, more tolerant line. You can see it at a glance. You can work to it without strain. A hard, razor-thin scratch forces you into guesswork: which side counts as “correct”? A softer mark gives you a usable band, and that band is where alignment happens.
Look at a cabinetmaker fitting a door. She offers the panel up, presses it home, then lifts a corner and slips a soft pencil through the gap. With one steady pass along the edge, she captures an honest record of what’s real: where the door actually sits, not where the tape measure hoped it would sit. She takes the door down, planes a whisper of timber until the line is just gone, then repeats the cycle. No theatrics, no gadgets, no last-minute save.
The same principle shows up on site when a tiler needs to transfer a laser line onto dusty plaster. A hard lead tends to skid and break the mark into fragments. A soft lead bites better, leaving a continuous line you can follow for hours. In production environments, technicians often carry a stub of 2B or a carpenter’s pencil to ring bolt holes and bracket edges. The trickier the alignment, the more they lean on a quick, generous line that won’t scratch, won’t deceive, and won’t disappear the moment it’s touched.
There’s a simple, quiet logic behind the habit. Alignment is about reference points, not flawless perfection. You need a mark that represents a clear “good enough” zone-something your brain can read even when you’re tired, rushing, or working up a ladder. A soft pencil changes how error behaves: instead of chasing a microscopic line and arguing with yourself about which side to cut, you work to a visible band.
From a technical standpoint, softer graphite (such as 2B or carpenter’s lead) leaves more carbon behind. That creates a darker, slightly thicker stroke, which boosts contrast and makes the line easier to interpret. It also lowers the chance of scoring delicate surfaces-scores that can tug tools off course. When you’re lining up fixings, brackets, hinges, mitres, or even picture frames, your eyes lock onto contrast and edges. A soft pencil provides both, with enough thickness to stay truthful yet forgiving.
This is why using a soft pencil to mark this area improves alignment accuracy: it doesn’t demand machine-like precision. It fits the way real hands and real eyes actually work.
How to use a soft pencil so your lines actually line up
The approach is almost comically straightforward. Choose a soft pencil-2B, a carpenter’s pencil, or even a standard HB that’s worn down a bit-and use it specifically as an “alignment marker”, not merely something for jotting notes. When two parts need to meet neatly, bring them into approximate position, hold them where they naturally settle, and draw directly across the joint or edge with the soft lead. You’re recording what’s happening, not what the measurements predicted.
Take a door hinge as an example: shut the door, hold the hinge leaf where it will sit, and run the soft point around its outline. That shaded edge becomes the reference for cutting and drilling. With a wall bracket, you can tack it up loosely first, step back, nudge it until it looks right in the space, then trace around it. Only after that do you commit to holes and screws. The pencil line is the pause between guessing and locking it in.
Most frustration comes not from the pencil but from unrealistic expectations. People hope the line will be a miracle cure for sloppy measuring or rushed drilling. It won’t. Used properly, what it does is shrink the small, creeping misalignments that slip in at every stage.
A frequent error is sharpening to a needle point and pressing hard. At that point it behaves like a scriber: the mark becomes a thin groove, tools can drift away from it, and you lose the advantage of a bold, readable guide. Another pitfall is switching marking tools mid-job-pen in one place, pencil in another, a knife line elsewhere-so your brain keeps having to decide which “edge” is the one that counts.
When it’s late on a Friday and you’re running on fumes, you don’t want mental gymnastics. You want one dependable cue. This is the line I follow. A soft pencil gives you that, provided you use it the same way, on the same kinds of surfaces, whenever you’re aligning parts. And yes, you’ll miss it sometimes. Let’s be honest: nobody truly does this every single day.
“The more precise the job, the fatter my pencil,” a furniture maker once told me, laughing. “I don’t want to pretend I can cut to a hair. I want to see the truth of where things actually touch.”
That remark stuck because it reverses the usual instinct. We chase thin, sharp, “technical” lines and assume they equal accuracy. In practice, the better helper is a mark that reflects how we actually cut, drill, fit and adjust.
- Choose a soft lead (2B or similar) as your go-to alignment pencil.
- Use it consistently on joints, hinges, brackets and cuts you care about.
- Keep the mark bold and generous, then work until it just disappears.
- Only wipe or sand away remaining lines right at the end.
That small routine turns a cheap pencil into a quiet quality-control tool. It encourages you to slow down a touch, check twice, and commit once. That’s often where accuracy is hiding.
The quiet power of a visible, erasable line
Using a soft pencil to mark this area improves alignment accuracy not because graphite has any magic in it, but because it pulls your focus to the right place at the right time. A line you can see-and erase-lets you test, tweak and test again without embarrassment. You can shift a bracket, re-outline a hinge, rub out a cut line and start over with no permanent damage. The job feels lighter, less risky, and-oddly-more exact.
Everyone knows the moment: the shelf is already drilled, the wall plugs are already set, and the spirit level bubble is a millimetre off. You step back, tilt your head, and hope nobody else spots it. A soft-pencil habit won’t eliminate those moments entirely, but it reduces how often they happen. It pushes the decision earlier, when corrections are cheap and quiet. That change does something subtle for your confidence.
And it isn’t limited to timber and walls. Designers use soft graphite to check alignment on mock-ups before committing to digital grids. Tailors mark hems and folds on calico with pencil before moving to final cloth. Even in engineering labs, people still circle mounting holes and connectors by hand before a CNC machine or robot takes over. The idea is consistent each time: a thin, erasable, human line tells you more about alignment than any abstract measurement.
You may notice that the next time you hang a picture or assemble flat-pack furniture, you’ll reach for the shorter, softer pencil without even thinking. You’ll shade the true edges, outline where the hardware sits, and let the line guide the drill-not the other way round. And when everything seats properly on the first attempt, you’ll understand why.
| Key point | Detail | Benefit for the reader |
|---|---|---|
| Soft pencil = readable line | Softer leads (2B, carpenters’ pencils) leave darker, slightly wider marks. | Align parts more confidently, even when tired or rushed. |
| Mark reality, not theory | Trace around parts in position instead of relying only on measurements. | Fewer crooked shelves, misaligned hinges and “almost straight” frames. |
| Work until the line vanishes | Use the pencil mark as a band to cut, plane or drill to, then remove. | Cleaner finishes and higher accuracy without expensive tools. |
FAQ:
- What kind of soft pencil should I use for alignment? Any 2B or carpenter’s pencil works well. The main thing is a slightly softer lead than the usual HB, giving a darker, more visible line that doesn’t scratch the surface.
- Won’t a thicker line make my measurements less precise? The opposite usually happens. The thicker, darker band helps you see and follow a consistent reference, instead of guessing at a hair-thin scratch you can barely see while cutting or drilling.
- Can I use a soft pencil on painted walls or delicate surfaces? Yes, if you press lightly and clean it afterwards. For very delicate finishes, test in a hidden spot and use a magic eraser or gentle cleaner to remove remaining graphite.
- Is a marking knife better than a soft pencil for accuracy? A marking knife is great for fine joinery, but it scores the surface and demands more skill. For everyday alignment – shelves, hardware, frames – a soft pencil is more forgiving and easier to read.
- How do I keep my pencil “soft” enough without constant sharpening? Let it stay a little blunt. Sharpen it when it becomes too wide to be useful, but not to a needle point. Many pros even shape carpenters’ pencils with a knife to get a flat, chisel-like edge.




Comments
No comments yet. Be the first to comment!
Leave a Comment