
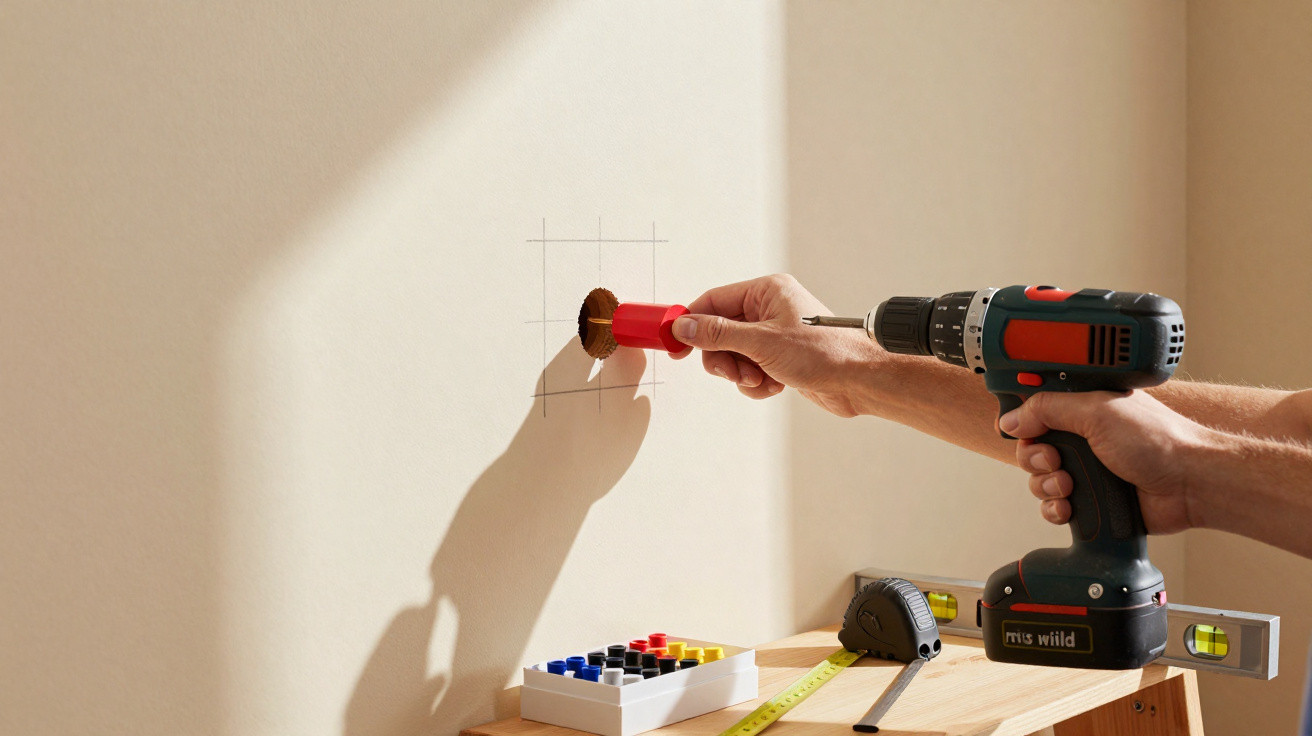
Anyone who has drilled into a period property or into porous plaster knows the pain.
The good news is this: it’s rarely because you’re hopeless at DIY. In most cases it comes down to using the wrong technique or the wrong wall plug. With a handful of trade tricks, wall plugs can suddenly hold surprisingly well - even in awkward walls. Below, you’ll see that lesser-known approach explained step by step.
Why so many wall plugs fail
Many DIYers follow the same routine: drill the hole, push in the plug, drive in the screw - job done. Then they’re baffled when the coat rack crashes down or wall cupboards slowly start to sag. The real cause is usually hidden deeper in the wall.
"The stability of a fixing depends 80% on the match between the wall material, the plug type and the drilling technique - not on the thickness of the screw."
If you don’t know what your wall is made of and you grab “any old” plug, you’re essentially playing Russian roulette with every hole you drill. Especially ahead of winter, when shelves, decorations and televisions get mounted, it pays to get the basics straight once and for all.
First trick: learn to ‘read’ the wall properly
Before you even pick up the drill, do a quick check. Concrete, brick, aerated concrete and plasterboard all behave very differently.
Identify what’s behind the plaster with a tap test and a quick look
In many cases you can work out the wall type with two simple checks:
- Tap test: If the wall sounds solid, dull and hard, you’re usually dealing with concrete or dense brick. If it sounds hollow, it’s often a lightweight partition or plasterboard.
- Look at the drill dust: Grey, very fine dust often points to concrete; reddish dust suggests brick; very pale, crumbly dust is more typical of plaster or plasterboard.
Even this short assessment can decide whether a standard plug from a DIY shop will do the job or whether you should use a specialist solution.
Which wall plug suits which wall
Different wall types need different anchoring actions. Here’s a quick guide:
| Wall material | Suitable wall plugs | Typical use |
|---|---|---|
| Concrete / solid brick | Standard expansion plugs or heavy-duty plugs, longer plugs | Heavy shelves, wall cupboards, TV brackets |
| Hollow brick / perforated block | Specialist hollow-brick plugs, injection systems | Medium to high loads, e.g. kitchen cupboards |
| Plasterboard / lightweight wall | Toggle plugs, cavity plugs, metal spring toggles | Light to medium loads, picture rails, small shelves |
| Crumbly plaster / older walls | Longer plugs, chemical anchors, timber battens behind | Anything that must hang safely for the long term |
The golden rule is: the plug must be able to bite into a stable part of the wall. If the plaster is already crumbling, a short plug is pointless - it ends up sitting only in loose material rather than the load-bearing core.
The overlooked trade technique: a drill hole tailored like a made-to-measure suit
A key method many professionals rely on (and many people miss) is this: the hole is drilled to fit the plug precisely. It sounds obvious, but in practice it’s frequently ignored.
Diameter and depth: no rough guesses
Every plug pack shows a size, for example “8 x 40”. The first number is the plug diameter (and therefore the drill bit size), while the second is the plug length.
- Match the drill bit to the plug: For an 8 mm plug, you generally need an 8 mm bit - not 6 and not 10.
- Drill slightly deeper: The hole should be about 5–10 mm deeper than the plug length so the plug can expand fully.
- Start square to the wall: Angled holes reduce holding strength noticeably and can become a real issue with heavy loads.
One common mistake is wobbling the drill bit side-to-side to enlarge the hole quickly. That usually leaves an uneven, oversized hole, so the plug no longer fits snugly.
Drill cleanly - using sharp tools
Blunt bits tear material out, overheat, and create inconsistent holes. Professionals replace bits sooner rather than later because:
"A sharp drill bit gives more grip than the most expensive screw in the wrong hole."
For concrete you’ll need a hammer drill or a rotary hammer with the correct mode. For plasterboard, a standard drill without hammer action is usually enough - otherwise you just pulverise the substrate.
The ‘three seconds’ that make all the difference
After drilling, dust stays in the hole - and that dust is the enemy of any plug. It acts like a lubricant, letting the plug slip.
So take three seconds for a quick cleaning routine:
- Briefly vacuum the hole out or blow it out firmly
- Check with a finger whether crumbly material is coming loose
- Only then insert the plug
Many tradespeople also like to push the plug in once as a “test fit”. If it only goes in with brutal force, the hole is too tight. If it almost drops out on its own, it’s too wide.
What professionals do differently in difficult walls
Things get genuinely tricky with old rubble-stone walls, crumbly plaster, or thin plasterboard. This is exactly where a lesser-known combination approach comes in - it can stabilise fixings even in problem walls.
Pack out and reinforce instead of simply using ‘more plugs’
Rather than just installing larger plugs or adding more fixings, professionals strengthen the substrate deliberately:
- A piece of timber behind the board: With cracked plasterboard, a larger opening allows a small timber batten to be slipped in and turned across behind the sheet. The screw then bites into the timber far more securely.
- Longer plugs for cavities: In hollow brick or double-skin walls, longer plugs or toggle plugs are used so the fixing holds behind the first skin.
- High-expansion plugs: Certain plugs spread out more widely as you tighten them, distributing the load better - ideal in crumbly areas.
The real “secret technique” is to avoid the weak point in the wall build-up and anchor into something solid - even if that solid layer sits a bit deeper.
A small trick to prevent chipped tiles and damaged fresh paint
If you drill into tiles or freshly painted walls, you’ll know the risk: the bit can pull a chunk out of the surface. A simple strip of tape can feel almost like magic.
Stick a piece of masking tape or parcel tape over the drilling point and drill through it. The tape holds the surface together and chipping becomes much less likely. Peel it off afterwards.
When wall plugs and adhesive work together
In very porous walls, a combination of plug plus bonding compound or mortar can be the only reliable answer. Professionals lightly fill the cleaned drill hole with:
- Specialist mortar or injection compound
- Two-part resin
- Strong mounting adhesive
Then the plug is pressed straight into the still-soft material. Once cured, it holds extremely firmly. This method is ideal for heavy items such as solid-wood wall shelves or large mirrors - with one important caveat: once set, that hole is hardly reusable in any meaningful way.
The key checklist for wall plugs that genuinely hold
If you don’t want to puzzle it out from scratch every time you do DIY, stick to five straightforward steps:
- Estimate the wall material by tapping and checking the drill dust
- Choose a plug type that matches the substrate
- Select the drill bit exactly as specified for the plug and drill straight
- Remove dust thoroughly from the hole
- For problem walls, use longer plugs, timber packing, or adhesive
"If you follow these five points, you can hang even heavy furniture almost worry-free - without nervously waiting for the next crash in the hallway."
How much weight will a wall plug actually hold? A practical guide
A plug’s load capacity depends on several factors: wall type, plug material, screw thickness and embedment depth. For day-to-day use, rough rules of thumb help - as long as you’re using the right plug in the right substrate:
- Small standard plug in concrete: often 20–40 kg per fixing point
- Good-quality cavity plug in plasterboard: around 10–25 kg per point
- Specialist systems with injection compound: depending on the system, significantly more
For kitchen cupboards, televisions and heavy wall shelves, it’s worth checking the technical tables from the plug manufacturer. Reputable brands publish precise load ratings for different wall materials. And for heavy loads: use more fixing points rather than relying on a single plug.
Typical mistakes - and how to avoid them
Finally, here are the classic errors that catch out even experienced DIYers:
- Drilling too close to an edge: Especially with crumbly plaster, the edge can break away quickly. Keep a few centimetres of clearance.
- Wrong screw length: The screw needs to be long enough to fully expand the plug, but not so long that it extends uselessly into empty space behind.
- Not checking the wall first: Stud finders and cable/pipe detectors help you avoid drilling into water pipes or electrical cables.
- Hammering the plug in by force: If you need a hammer, something is usually off. Plugs should go in with firm pressure, not blows.
Keep these points in mind and you’ll quickly notice the difference: hanging shelves, mirrors and televisions turns from a stressful gamble into a fairly dependable routine. And suddenly the winter decorations stay on the wall - without anything clattering to the floor in the middle of the night.





Comments
No comments yet. Be the first to comment!
Leave a Comment