
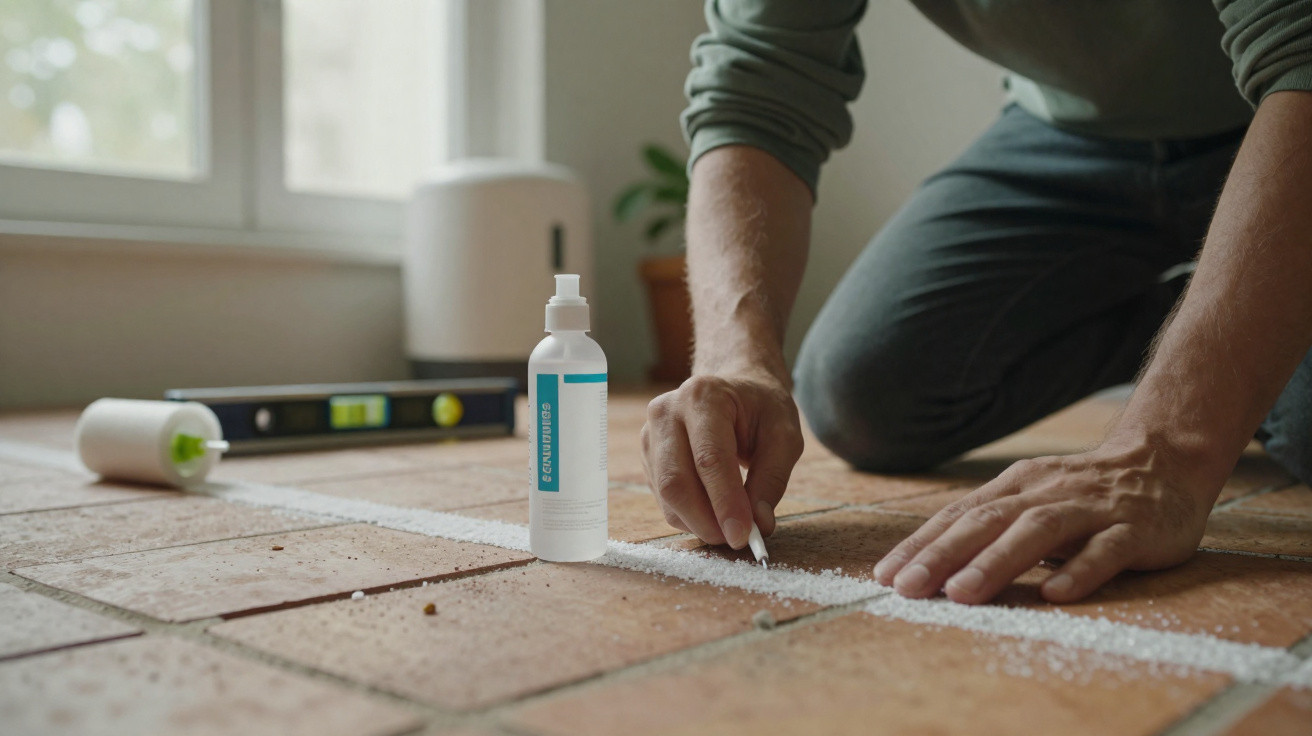
Not the performative “I’m disappointed” look, but the genuine, jaw-clenched, fed-up-of-hearing-it anger. He’d just spent ten minutes running through rising damp, tanking slurries and chemical injections when the homeowner, calmly, said: “My neighbour fixed his wall for £80 and no drilling. Could we try that first?”
A pause. Then a near-stagey sigh.
All over the UK, a low-level revolt is playing out in kitchens and living rooms. Homeowners are realising that some of the nastiest damp marks aren’t a mysterious structural curse that demands thousands of pounds… but something far more straightforward. Something you can often tackle over a weekend with basic tools and a bit of nosiness.
It’s the kind of fix that makes certain contractors bristle.
The low-key scandal behind “rising damp”
The moment you spot that brownish tide line climbing the plaster, it’s easy to assume the worst: rotten joists, hidden mould, eye-watering quotes. Search “damp on internal wall” and, a couple of clicks later, you’re buried under invasive systems and scare stories.
Even the wording feels clinical. “Injection course.” “Tanking.” “Membrane system.” It nudges you into the role of patient: the house is “ill”, the specialist must “treat” it, and you simply pay.
But take a step back and the picture can look odd. How can your neighbour’s 1920s terrace be bone-dry, while your 1990s semi is shedding paint like an old poster?
That’s where the simple trick comes in.
In a quiet cul-de-sac in Leeds, Claire and Matt were convinced they were in trouble. Their living-room paint was blistering, and the skirting board had puffed up and twisted. A damp company arrived, waved a meter at the wall, and proposed a bill just under £5,000 for a new injected damp-proof course and replastering.
Claire’s dad - a retired joiner - stepped in, pulled a face… and headed straight outside. He crouched beside the external wall, swept away the gravel, and started laughing. The ground level, pushed up by an overfilled flowerbed and years of bark chippings, had crept to almost level with the internal floor.
The original damp-proof course? Completely buried.
One weekend later, they’d lowered the soil, put in a narrow gravel trench, and improved ventilation to the subfloor airbricks. Total cost: around £120, including a few replacement airbrick covers. Three months on, the wall had dried enough for paint to stay put. No injections. No tanking. No drama.
Those aren’t the stories that generate big invoices - but they are the stories that travel.
Once it clicks, the logic is almost embarrassingly clear. Most properties already contain a damp-proof course: a strip of slate, plastic, or engineering brick intended to stop moisture wicking up from the ground.
So what changes? Driveways get resurfaced a touch higher. Flowerbeds slowly rise. Patios appear “just a small step” beyond the French doors. Vents become half-buried or painted shut. Homes are meant to drain and breathe; over time, we unintentionally choke them with tidy landscaping.
The symptoms mimic rising damp: salt marks, peeling paint, and crumbly plaster along the bottom of walls. Push a moisture meter against a cold, overloaded surface and it will happily beep and flash. Suddenly you’re being sold expensive cures for a problem that, in many cases, begins outside - right at ground level.
The anti-damp trick that really dents some contractors’ margins? Start outdoors before you touch a single internal wall.
The simple anti-damp trick contractors hate you talking about
Here it is without the theatrics: for many homes, the most effective “anti damp” step is to drop and separate the external ground from the wall - and allow the structure to breathe again.
Walk the perimeter like a mildly suspicious detective. At the foot of each external wall, there should be a clear gap between the damp-proof course line and the soil, paving, or tarmac. If the external ground sits within about 150 mm of your internal floor height, or it’s covering an older slate course, moisture has an easy route into the masonry.
The trick is to remove that route. Dig back the soil. Form a slim gravel trench. Clear or extend airbricks. Create a small breathing space so the wall stops acting like a sponge left sitting in a puddle.
It sounds almost too ordinary on paper. In reality, it can transform a room.
There are a few human traps, though. Written guidance often says things like “maintain at least 150 mm below damp-proof course” and “keep airbricks unobstructed for cross-ventilation”. Then Saturday arrives, it’s drizzling, and you’re staring at a patio that’s been laid beautifully… 5 cm too high.
Maybe a previous owner wanted step-free access. Maybe the landscaper never mentioned the DPC. Either way, the choice feels harsh: tolerate damp, or break up expensive paving. On a webpage, it’s straightforward; holding a sledgehammer, it’s not.
We rarely talk about the gap between what’s technically right and what people genuinely feel able to tackle. After a long week, who actually wants to start chiselling out mortar to free an airbrick on a tired Sunday evening?
Let’s be honest: hardly anyone does that day in, day out.
So you do it in stages. Start with the worst elevation. Drop one flowerbed this season, then plan to sort the driveway edge next year. The approach still works in slow motion: every centimetre you regain below the DPC line reduces the load on your walls.
“Most of the so-called rising damp I see is just buried damp-proof courses and smothered airbricks,” says Tom, a surveyor who left a big damp firm to work independently. “If homeowners simply checked ground levels and ventilation before signing any treatment contract, I’d lose half my diagnostic work. I’d be delighted.”
Zoom out and this single step turns into a set of practical questions worth keeping to hand:
- Is the external ground at least 150 mm below the damp-proof course all around the wall?
- Are airbricks clear, open and actually leading to a ventilated void, not blocked by insulation or junk?
- Are there bridging points, like render or plaster, that run continuously from ground level up the wall?
- Has anything changed outside in the last 10–15 years (new paving, raised beds, ramps, decking)?
- Is the damp patch worst where the wall sits behind a high patio or packed soil?
Once you can answer those properly, internal repairs begin to add up. Before then, they’re often lipstick on a damp pig.
Why this “small” fix can feel enormous
A minor-sounding adjustment can also feel like a power shift. For years, the damp conversation has been driven by fear and urgency: “If you don’t treat this now, your joists will rot.” “This will affect your resale value.” “It’s a structural issue.”
Going outside with a shovel tells a different story. You’re not pretending the issue isn’t there - you’re just starting with a more awkward question: is moisture genuinely climbing from the ground in some unstoppable way… or have we literally built the problem up against our own walls?
That question alone changes the way you speak to contractors, neighbours and even estate agents. It also encourages people to share their quiet, unglamorous fixes - the ones that never appear in glossy adverts or alarmist reports.
At a deeper level, it nudges at something most of us know about houses: they’re never truly “finished”. They move, settle, sag and get altered, then surfaced over. One generation installs a damp-proof course; another hides it under a fashionable patio. The next has to dig it back into the light.
On a wet Tuesday while you’re staring at a peeling wall, that might sound like a lot. Yet the most subversive action is also the least glamorous: step outside, crouch down, and properly look at where the building meets the ground.
That thin strip of clearance can be the difference between spending pennies and spending thousands.
| Key point | Detail | Why it matters to you |
|---|---|---|
| Check external ground levels | Confirm the outside ground is at least 150 mm below the damp-proof course | Removes a major cause of apparent “rising” moisture without major building work |
| Clear ventilation | Free up airbrick vents and the subfloor void to improve airflow | Lowers internal condensation and reduces the risk of hidden mould |
| Act before chemical treatments | Try simple measures (drainage trench, gravel, adjusting external levels) before injecting or “tanking” | Helps avoid unnecessary costs and irreversible work to internal walls |
FAQ:
- Is rising damp always a scam? Not necessarily. Genuine rising damp can occur, particularly in older buildings without an effective damp-proof course. The issue is that many problems that look similar - high ground levels, leaks, or condensation - are often labelled “rising damp” far too quickly.
- How do I spot my damp-proof course? In many homes, it appears as a thin horizontal line of slate, a plastic strip, or a change in brick just above ground level. On newer properties it can be a visible black plastic layer in the mortar joint. If you can’t see it, a local surveyor or builder can usually identify it within minutes.
- What if lowering the ground isn’t possible? You may still be able to form a narrow trench beside the wall and fill it with clean gravel, or install a small channel drain, provided it doesn’t drive water towards the wall. In tight urban areas, even partial reductions and better drainage can make a noticeable difference.
- How long does it take for walls to dry after fixing the outside? Walls dry gradually. You may notice improvement within a few weeks, but full drying can take several months, particularly with thick masonry and in cool weather. Historic salt staining can remain even after moisture levels fall.
- Should I still get a professional damp survey? Yes - particularly if structural timber could be affected or the issue is severe. Aim for an independent surveyor who doesn’t directly sell treatments. It helps to go into that discussion having already checked your ground levels and ventilation, so you can weigh up opinions.






Comments
No comments yet. Be the first to comment!
Leave a Comment