
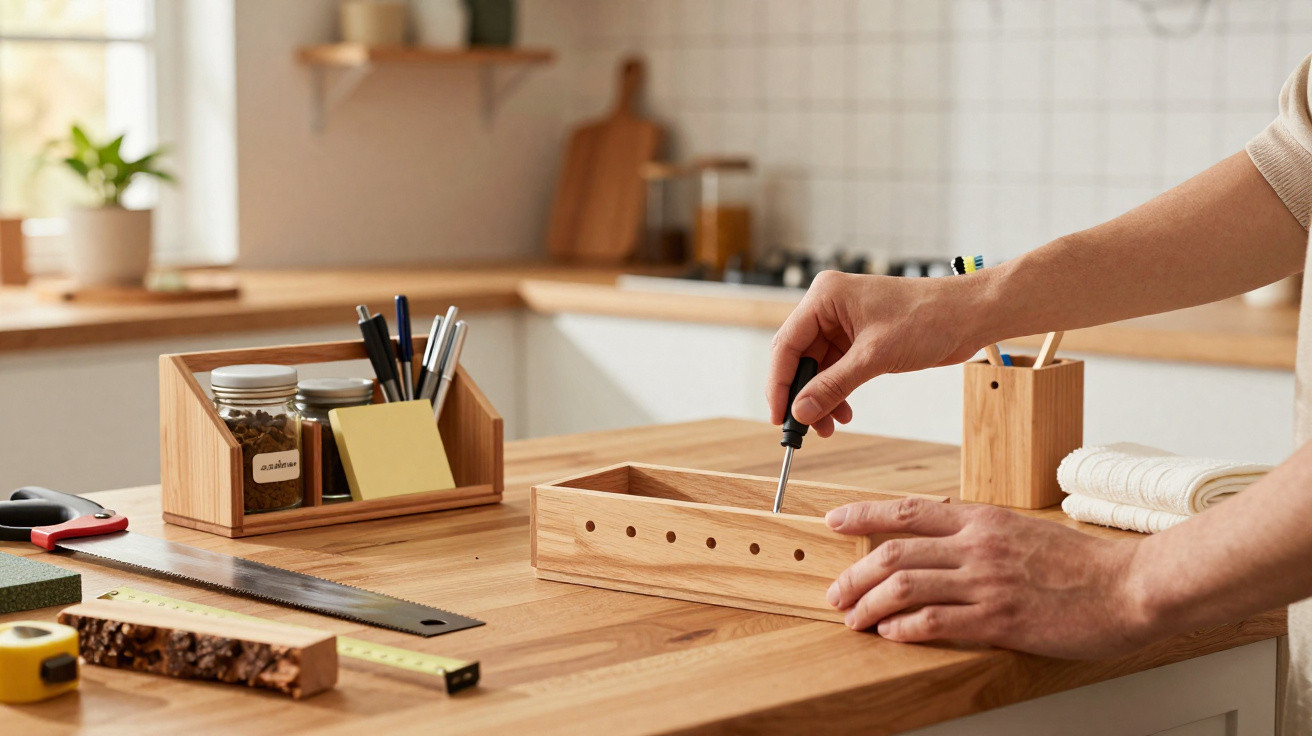
Old boards in the cellar, chaos in the kitchen - with a few straightforward wood tricks, an overstuffed dumping spot can become a clearly organised area.
Anyone who cooks will recognise the pattern: oil bottles, coffee capsules, sponges, scraps of paper - it all ends up on the worktop. Meanwhile, down in the cellar, offcuts from shelving, pallets or old parquet flooring sit in a pile. That’s the quiet goldmine for better organisation: scrap wood that can be turned into smart organisers with minimal effort - and in a way that instantly makes your kitchen, bathroom or desk look calmer.
Why scrap wood is the secret organisation hero
Scrap wood comes with several advantages at once: it costs next to nothing, saves resources, and adds warmth to a room. Compared with plastic storage boxes, wood generally looks more at home alongside cabinetry and work surfaces. Even small imperfections tend to feel characterful rather than cheap.
"If you want to clear your worktop, you often don’t need a new piece of furniture - just a few cleverly used wood offcuts."
Scrap wood fits perfectly between the push for less waste and the desire for a cosy home. A handful of boards can become custom-fit trays and racks that hold the very items that otherwise drift around loose: bottles, spices, charging cables, toiletries, post, and more.
Which wood works well - and what should stay in the cellar
Not every piece of timber belongs in a kitchen or bathroom. A quick check now prevents hassle later:
- Well suited: offcuts from solid-wood furniture, clean plywood, old shelf boards, parquet pieces, untreated pallet boards.
- Use caution: pressure-treated outdoor timber, boards with flaking paint or unknown coatings, damp or mouldy pieces.
A simple test helps: if the wood smells strongly chemical or the surface feels tacky, it’s better left out. Often, a thorough brush-down followed by sanding is enough to turn a dull board back into a sound, usable piece.
How to prepare the wood
A little prep before the first cut pays off:
- Remove loose dirt with a brush or vacuum.
- Store the wood somewhere dry until it no longer feels damp.
- Sand first with a medium grit, then a finer one (around 120).
- Ease the edges slightly so nothing splinters.
For kitchens and bathrooms, a hard-wearing finish is genuinely useful. Many DIYers opt for acrylic varnish or wood oil that’s sealed with a tough clear coat. That way, water and stains bead up and wipe away more easily.
14 simple projects that visibly clear your worktop
The route to a calmer space is to group items together and make use of vertical space. When everything has a fixed home, the surface stays clear. From this approach, you can build (and adapt) these 14 ideas:
- Raised bottle stand: a straightforward plinth for oil, vinegar and sauces, so they’re not sitting directly on the worktop.
- Portable kitchen caddy: a small carry organiser with compartments for wooden spoon, scissors, brush, salt and pepper.
- Slim spice ledge: a narrow shelf board mounted on the wall above the worktop - ideal for spice jars.
- Chopping-board holder: a vertical stand with slots that separates multiple boards in a very small footprint.
- Coffee accessory organiser: a wooden box with sections for capsules, pods or beans, plus space for spoons.
- Complete coffee corner: a compact set including a filter holder and a spot for napkins and spoons right beside the machine.
- Mini shelf by the sink: a small platform or rail for washing-up liquid, hand soap and sponge.
- Pen and note holder for the home office: a compact block with drilled holes and compartments for pens, markers and small notebooks.
- Monitor riser with storage: a wide board on short feet, with space underneath for a keyboard, notebook or docking station.
- Charging station for phone and tablet: a wooden stand with slots and cable pass-throughs so devices charge neatly.
- Wall organiser for post and paperwork: a shallow unit with multiple sections for letters, bills and to-do notes.
- Bathroom tray: a wooden tray for toiletries that keeps creams, brushes and bottles together.
- Wooden dish for keys and odds and ends: a shallow box in the hallway for keyring, sunglasses and coins.
- Small book box: an open crate for children’s books or cookbooks that can sit on a sideboard or worktop.
"The more precisely an organiser fits your daily routine, the faster the everyday mess disappears on its own."
How to tailor the projects for kitchen, office and bathroom
Before you take a saw to a board, it’s worth grabbing a tape measure. If you rely on rough guesses, you’ll often end up with shelves that are too wide or plinths that are too tall.
| Room | What to consider? |
|---|---|
| Kitchen | Height of wall cabinets, distance to the extractor hood, depth of the worktop. |
| Office | Ergonomic monitor height, space for the keyboard, freedom of movement for the mouse. |
| Bathroom | Moisture, distance from direct splashes, surfaces that are easy to clean. |
| Hallway | Don’t block doors or coats, avoid trip hazards. |
A quick pencil sketch is enough: where should compartments sit, how high can the front lip be, and where do you need finger pulls or cable holes? Seeing it on paper often saves you from having to build it twice.
Simple construction - achievable even for beginners
Most of these projects only require straight cuts. A hand saw, some wood glue and a few screws are usually sufficient. If you’re unsure, many hobby workshops or community maker spaces can show you the basics.
Typical build process:
- Cut boards to length.
- Sand the edges.
- Fix with glue, then reinforce with screws or nails.
- Once dry, lightly sand again and seal.
Protection, upkeep and small risks
If you’re using wood in damp areas, plan for protection. In bathrooms and kitchens, timber moves more - swelling and shrinking with moisture. Thin rubber feet or felt pads under the organiser help prevent water sitting directly beneath the board.
Old furniture finishes can contain solvents or heavy metals. If there’s any chance the wood could come into contact with food, it’s worth sanding old coatings back thoroughly - or simply not using that piece in the kitchen.
Why the effort pays off in the long run
Once you’ve cut an organiser to suit your own kitchen or desk, it becomes obvious how rarely off-the-shelf boxes match as well. Scrap-wood projects can be extended whenever your routine changes - an extra compartment for new spices, a wider charging station, a second tier in the book crate.
At the same time, you start seeing so-called waste differently. Instead of planning the next bulky-waste run, you build a small stock of future organisation materials. An old shelf board becomes a charging dock, a discarded pallet turns into a hallway drop zone, and leftover parquet pieces make a smart bathroom tray.
If you’re easing in, start with a simple worktop plinth. One board and four feet - that’s all it takes to create space for bottles, tins or mugs. The impact is immediate, and the motivation for the next project usually follows on its own.





Comments
No comments yet. Be the first to comment!
Leave a Comment