
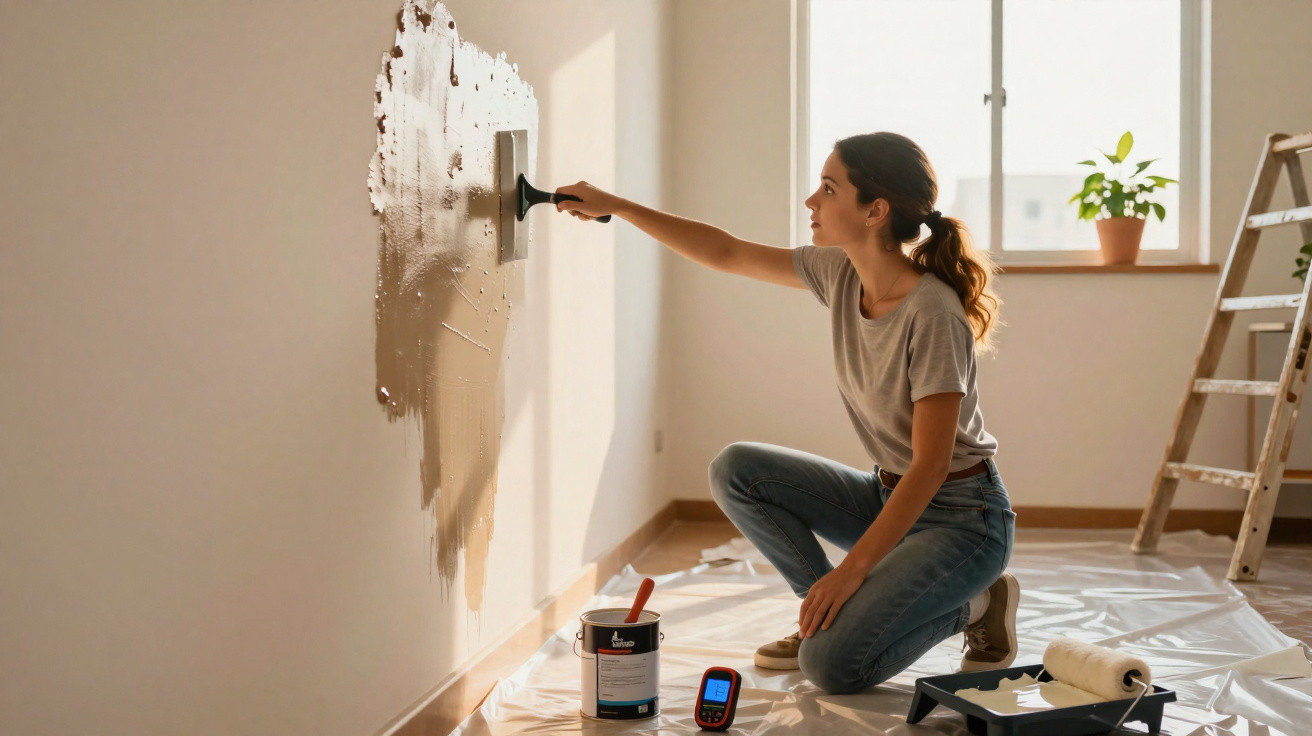
Damp on internal walls is one of the most common problems in houses and flats, especially in areas with frequent rain or big temperature swings. Dark stains, peeling finishes and lingering odours are signs the fabric of the building has been affected for some time. That is why knowing how to repair a damp wall matters: it helps protect the property and can prevent much bigger costs later on.
How does damp appear and spread through walls?
Water ingress can start through external cracks, damaged roofing, or faults in gutters and flashing, letting water reach the internal plaster. In other situations, rising damp from the ground travels up through the masonry, typically affecting the lower sections of walls and skirting boards.
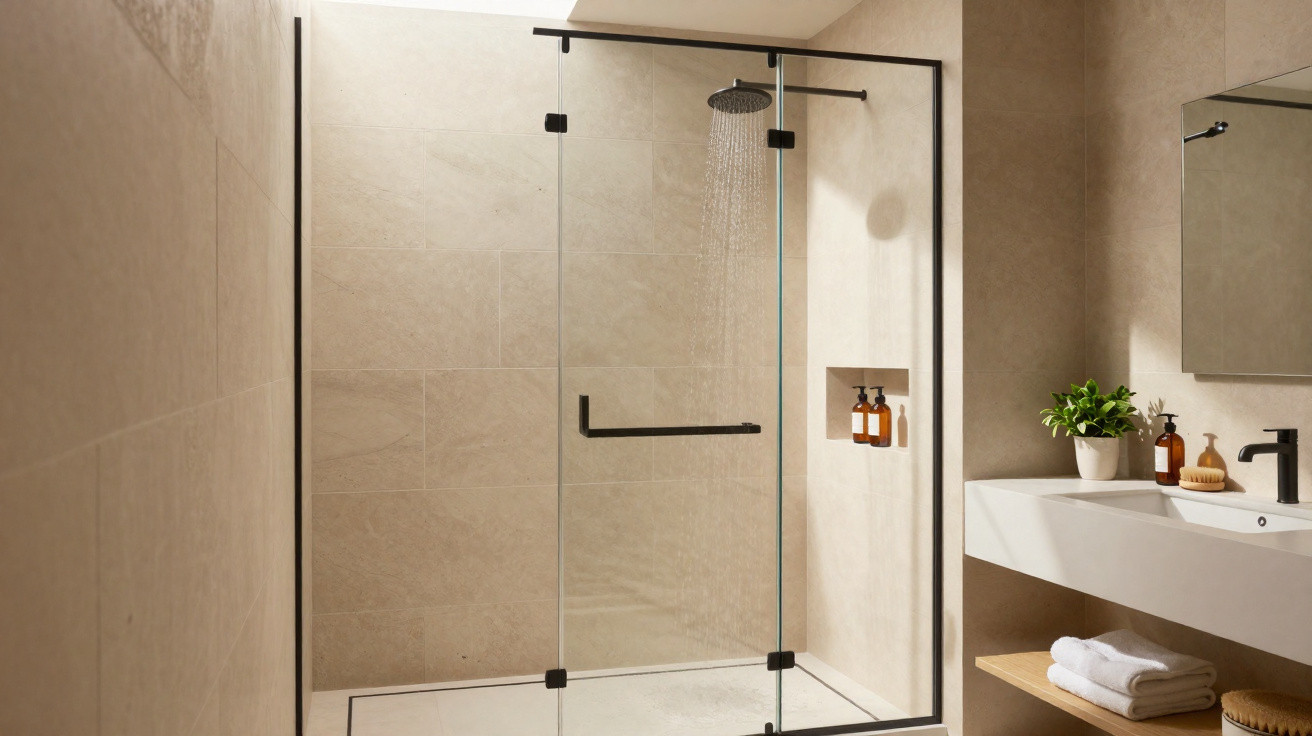
Rooms such as bathrooms and kitchens are also prone to condensation: steam from a hot shower or from cooking settles on cooler surfaces, forming droplets that the paint absorbs. Over time this leads to blistering, mould, flaking paint and even the plaster breaking down, which can damage furniture and clothing and, in older buildings, even impact structural elements.
Watch a video on the YouTube channel The Cat’s Leap in Construction that explains, step by step, how to treat walls with water ingress, flaking and damp before applying fresh paint:
https://www.youtube.com/watch?v=qMiwKIn0N7w
How to repair a damp wall properly
Before any finishing work, you must identify and fix the source of the damp-whether it is coming from the roof, the exterior walls, the foundations or pipework. If the cause is still active, stains will reappear quickly even after repainting, leading to wasted materials and having to do the job again.
Once the origin of the problem has been resolved, the internal repair generally follows a sequence that greatly improves how long the work lasts:
- Remove loose material: scrape off paint and any plaster that is no longer sound.
- Clean and disinfect: apply solutions to eliminate fungi, mould and staining.
- Waterproofing products: use sealers, mortars or coatings that make it harder for moisture to pass through.
- Make the surface good: fill defects, level the area and sand in a controlled way.
- Use the right paint: choose paints designed for damp-prone areas, with good durability and vapour permeability.
Which products are most used to tackle damp?
When preparing the substrate, acrylic sealers and stabilising primers help bind the plaster and improve adhesion for the next coats. In more severe areas, polymer-modified mortars, liquid membranes and reinforced cement-based products are used, applied in layers and allowed to cure properly.
At the finishing stage, anti-mould paints, waterproof options or “breathable” paints tend to be favoured because they reduce blistering and peeling. For persistent efflorescence (salt staining) and stubborn mould marks, specialist cleaners and disinfectant agents are applied more than once, always allowing the recommended drying time between each step.
How to prevent damp problems coming back at home
After the repair, prevention becomes the best way to keep walls stable and clean for longer. Simple routines can significantly lower the risk of damp returning and help you spot defects while they are still minor.
- Ventilate rooms: open windows and doors, particularly after showers and heavy cooking.
- Watch for early warning signs: look for darkened patches, unusual smells and small areas of flaking.
- Maintain roofs and gutters: clear leaves, check for blockages and look for overflow points.
- Protect external walls: apply waterproof finishes to surfaces that are heavily exposed.
- Use dehumidifiers when needed: especially in closed bedrooms or rooms that are rarely used.
With the right diagnosis, suitable materials and periodic upkeep, damp is far less likely to remain a repeated issue. As well as keeping the property looking better, this care supports residents’ health by reducing mould, odours and the slow, hidden deterioration of the building fabric.





Comments
No comments yet. Be the first to comment!
Leave a Comment