
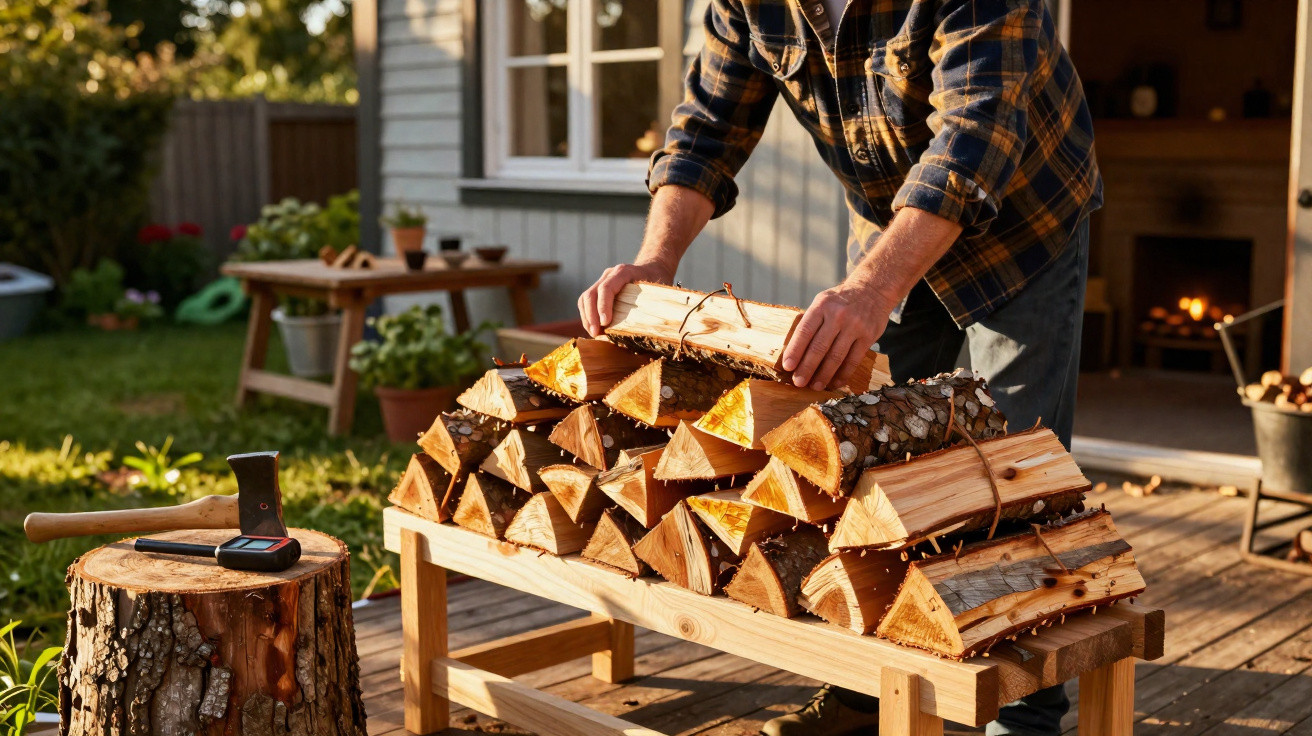
A handful of straightforward tweaks can noticeably increase the heat you get from your logs.
Anyone who heats with wood usually watches the price and, perhaps, the species. Yet the real difference-maker is often something far less obvious: drying it properly. Well-prepared firewood burns hotter, cleaner and far more efficiently - and that’s exactly why a simple method currently being discussed in DIY forums is turning heads.
Why dry wood gives off so much more heat
Freshly cut or poorly stored wood can hold a surprising amount of water. When you burn it, that moisture has to evaporate first - energy that disappears up the flue instead of warming your living room.
- Wet logs produce very little usable heat.
- The flame looks sluggish and has a yellowish tone.
- You get more smoke and soot.
- The fireplace and flue dirty faster, making sweeping more expensive.
With properly dried wood, the opposite happens: more of the energy stays in the room rather than being lost in the exhaust. Many stove and fireplace owners say that once they switched to optimally dried logs, they used noticeably less wood while getting clearly more warmth.
"Correctly dried firewood can almost double the usable heat - without a new stove, simply with better preparation."
How to tell if firewood is genuinely dry
Plenty of people have bought “dry” logs only to find they were still damp later. A quick glance is rarely enough. These signs are far more reliable:
- Colour: Dry logs tend to look grey-brown; the cut ends are dull and often show small cracks.
- Weight: A dry log of the same size feels much lighter when lifted, almost “light and hollow”.
- Sound: Two dry pieces struck together ring bright and clear; wet wood sounds dull.
- Smell: Fresh or damp wood has a strong resin/forest smell, whereas dry wood has very little scent.
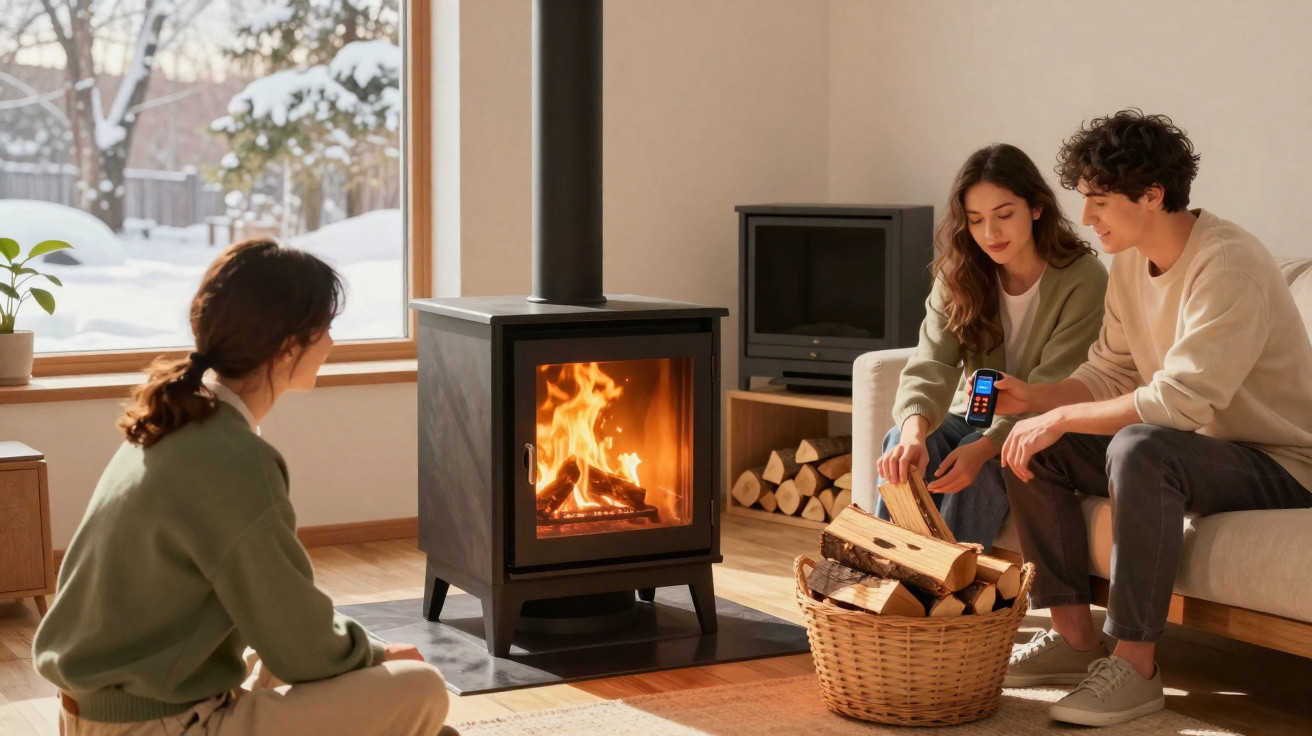
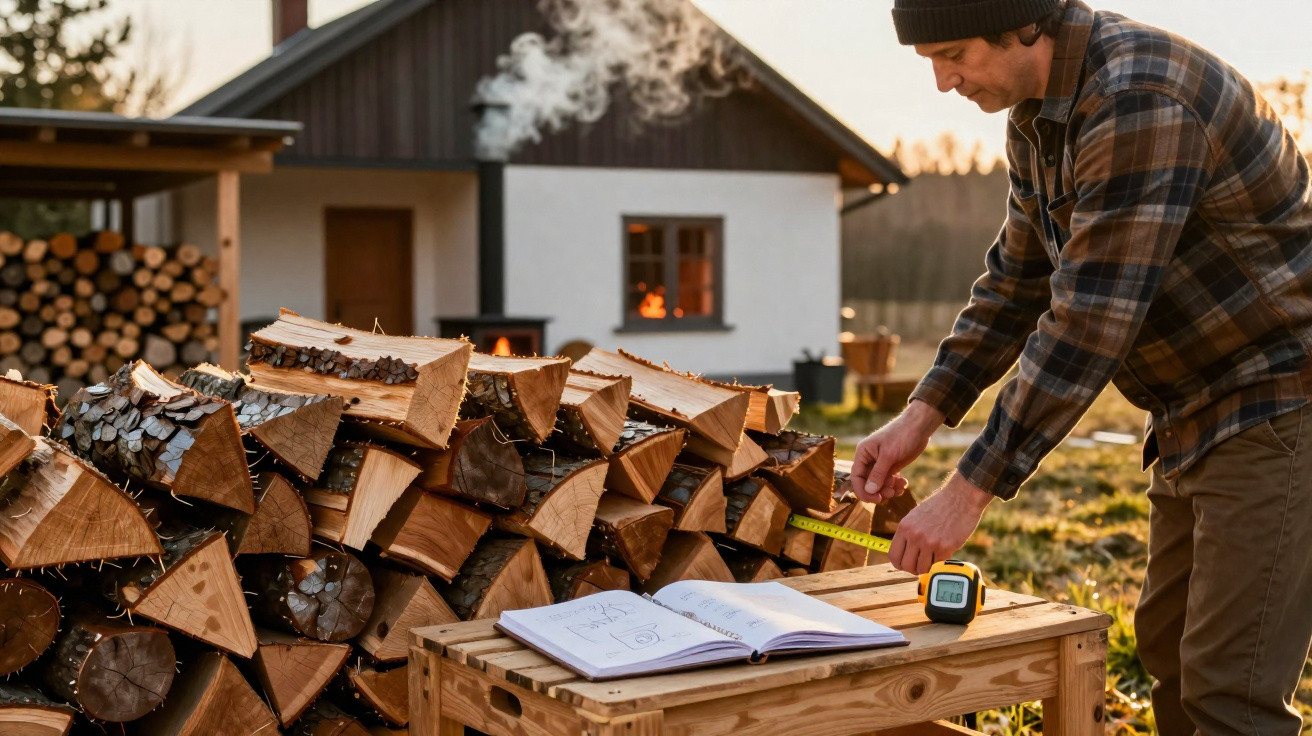
If you want certainty, use a simple wood moisture meter. The target is under 20% residual moisture. You can pick these up for very little money from DIY shops.
The key technique: split early and stack for airflow
The biggest gain doesn’t start in autumn, but right after felling or buying fresh wood. That’s why many people are currently raving about a small change in routine: they split much earlier, stack more loosely - and report differences in how it burns after just a week.
Fell, saw and split straight away - don’t wait
Unprocessed metre lengths only dry at the bark; inside, the wood can stay wet for a long time. If you split immediately after cutting, you massively increase the surface area, letting moisture escape far faster.
- Cut logs roughly to length (30–50 cm, to suit your stove).
- Split every section rather than storing whole rounds.
- Make more, smaller logs - they dry quicker and burn more evenly.
Many home wood-burners report that since splitting and stacking everything in the same spring, their wood burns much hotter the following winter, with a steadier flame.
Stack properly: airflow matters more than neatness
A traditionally “tidy” wood store with tightly packed rows may look great, but it restricts airflow. The improved approach focuses on the opposite: more gaps, more space, more through-draught.
- Start the first row on pallets or timber bearers - never directly on the ground.
- Leave a gap of two to three finger widths between rows.
- Don’t cram pieces tightly within a row - irregular gaps are a good thing.
"If you deliberately build air channels into your stack, you can halve the drying time and feel the difference immediately at the fire."
Location, sun, wind: turning logs into a heat package
The best place for a wood store
The ideal spot combines sunshine with airflow. A clear wall facing south or west is often best, because afternoon sun and moving air work together there.
Key points:
- Keep the back as open as possible so wind can pass through.
- Close only the top with a roof or cover, while leaving the sides partly open.
- Avoid wrapping the stack tightly in plastic - condensation can re-wet the wood from within.
Covering: protect without “wrapping up”
You want rain and snow kept off, but you still need moisture to escape from the wood. A breathable cover balances both:
- Use a rigid sheet or a heavy tarpaulin as a roof on top.
- Leave at least 10–20 cm of air at the sides between the tarpaulin and the edge of the stack.
- In prolonged rain, the weather-facing sides can be hung slightly lower, but should not be sealed completely.
This keeps the stack dry from above without making it “sweat”. That set-up significantly boosts the effectiveness of the drying method.
How long wood really needs to dry
Many sellers advertise “ready to burn” after just one summer. Specialists tend to take a more nuanced view. As rough guidance, drying times vary by species:
| Wood type | Recommended storage time | Special note |
|---|---|---|
| Spruce, fir | 1–1.5 years | Dries quickly, burns down fast |
| Pine | 1.5–2 years | Resin-rich, great for kindling |
| Beech | 2 years | High heat output, long-lasting embers |
| Oak | 2–3 years | Very energy-dense, needs patience |
If you use the splitting and stacking approach described above, you’ll often reach the target of under 20% moisture towards the lower end of those ranges.
Which wood species heat most efficiently
For a cosy evening by the fire, dense hardwoods are usually the best choice because they deliver long, steady warmth.
- Beech: A classic with excellent ember formation, ideal for extended burning.
- Oak: Very high energy density, perfect for powerful stoves and long nights.
- Ash: Dries relatively quickly and burns lively and warm.
Softwoods such as spruce or pine are useful for lighting because they catch quickly. For the main heating phase, hardwoods generally make more sense. If you combine them wisely, start with a couple of softwood logs and then add beech or oak - that way you get quick ignition and strong heat output.
A cleaner flue, less risk: the safety side of the method
Wet wood produces lots of soot and tar-like residues that can build up in the chimney. This creates creosote, a highly flammable deposit. Combined with high flue-gas temperatures, it can lead to a chimney fire.
With properly dried wood and a strong, clean flame, that risk drops noticeably. The chimney sweep has less to remove, the flue stays clearer, and the stove runs more efficiently.
"If you consistently burn dry wood, you’re protecting not just your wallet, but also your home and family."
Practical add-ons for maximum heating performance
The drying technique becomes even more effective when you add a few extra habits:
- Bring wood indoors in good time so it can acclimatise before burning.
- Avoid burning huge logs - medium-sized pieces often deliver more usable heat.
- Don’t “choke” the stove: don’t reduce the air supply too early, so the firebox can get properly hot.
People who stick to these points often notice a change after the first week: the room warms faster, the logs glow for longer, and the stack lasts longer than usual. That’s what many mean when they say: "I’ve been doing this since this week - and the heat output feels almost doubled."



Comments
No comments yet. Be the first to comment!
Leave a Comment