
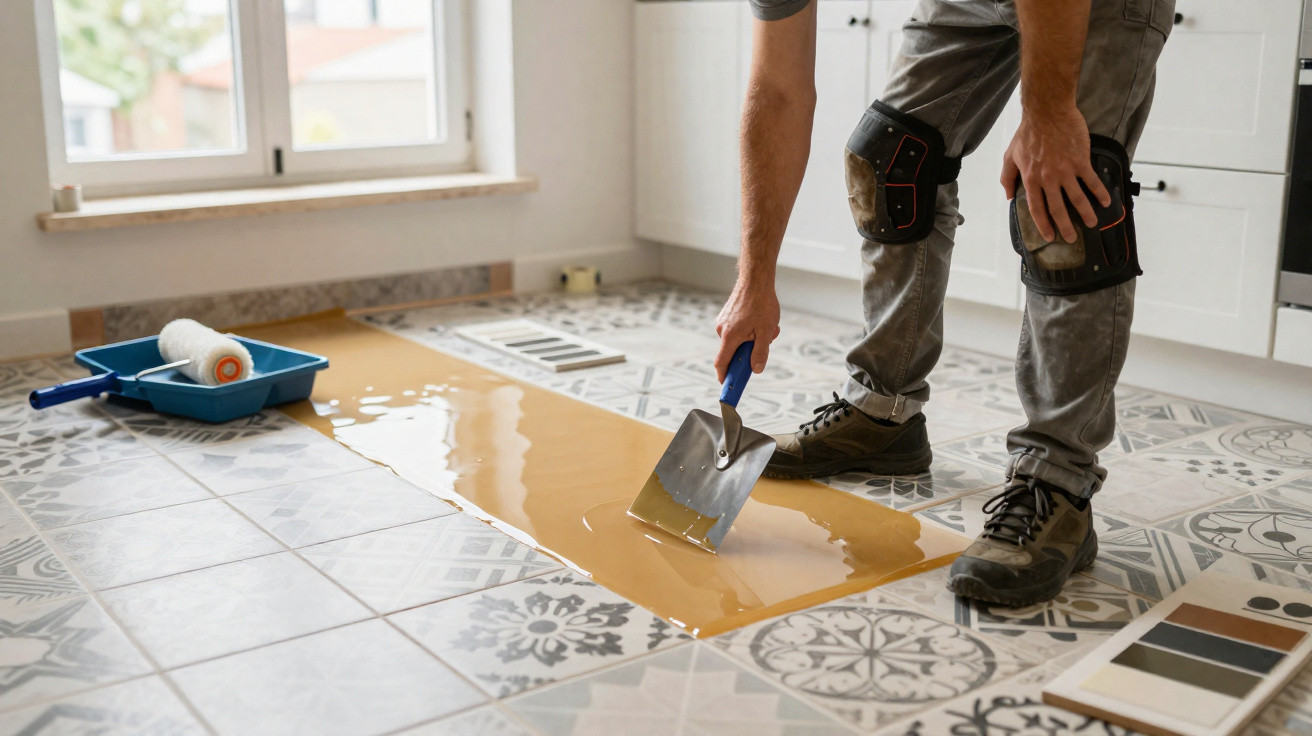
Many homeowners and tenants know the situation all too well: the old tiled floor is structurally fine, but it looks completely dated. At the same time, hardly anyone fancies a dusty major building site with a jackhammer, rubble and days of noise. That’s exactly where a type of floor covering comes in that goes straight over the existing tiles-without ripping them out-and gives the room a dramatic visual reset.
Why a new covering over old tiles makes such a big difference
With a traditional refurbishment, you’d have to break up the tiles, cart away the waste, rework the subfloor and only then lay a new finish. In practice, that means noise, dust, bulky waste, coordinating tradespeople and a noticeable hit to your budget. Especially after buying a property-when finances are often already stretched-many people look for an option that keeps stress to a minimum.
A simpler route is to install the new floor directly on top of the old tiles. That eliminates the need to chisel out the existing ceramic and can significantly shorten the renovation timeframe. Instead of lots of small tiles with visible grout lines, you end up with one continuous surface. It feels more contemporary and calmer, and cleaning becomes noticeably easier because grime no longer collects in grout.
“A seamless floor can make rooms feel larger, more consistent and more high-end-even if the old tiles are still underneath.”
A particularly popular solution for this use is a resin-based coating that is poured and spread as a liquid layer over the existing tiled floor. Once cured, it forms a hard-wearing, waterproof surface that works equally well in the bathroom, kitchen, hallway or living areas.
Resin flooring instead of tiles: how the approach works
Decorative resin flooring-often based on epoxy or polyurethane-is applied like a liquid skin over the existing tiled surface. It flows over every grout line and each individual tile until all you can see is a smooth finish. In terms of colour, the options range from warm beige shades and concrete looks to bright white or bold accent tones.
The result is a style associated with modern loft floors, designer bathrooms and minimalist interiors. At the same time, the system remains relatively thin. In many cases doors do not need trimming, and thresholds typically change only slightly.
- Seamless, low-maintenance surface
- Suitable for wet areas such as bathrooms and kitchens
- Wide choice of colours and sheen levels
- Refurbishment without tile demolition and heaps of rubble
- Long service life when the substrate is prepared properly
For the finish to last, the existing floor has to meet a few basic conditions. The tiles must not sound hollow, must not move, and should be firmly bonded. Loose tiles will eventually transfer movement upwards, which can lead to cracks in the new layer. Any grease, soap residue and old care products also need to be removed thoroughly-otherwise the resin won’t bond reliably.
Preparation: no effort, no smooth floor
The most critical work happens before a single drop of resin touches the floor. First comes a deep clean: vacuuming, mopping and degreasing. The surface then needs to dry completely, often overnight. After that, each tile is checked-if anything rocks or sounds hollow, it must be repaired or replaced.
Next, attention turns to the grout. Deep or crumbling joints should be levelled with a filler so the finished floor ends up genuinely flat. If this step is rushed, the old grid of grout lines can telegraph through later as slight indentations-exactly what you were trying to avoid.
Many manufacturers also advise using a dedicated primer designed to key into smooth tiled substrates. This helps the resin layer adhere securely and reduces the risk of later flaking. The primer is applied with a roller or brush and then needs to dry thoroughly as well.
“The quality of the new floor depends directly on how cleanly and patiently the preparation is carried out.”
Gloss, matte or slip-resistant: which finish suits you?
Once the base is ready, the design choices begin-and there are more options than many homeowners expect. Typically, three main directions are used:
| Finish | Characteristics | Suitable rooms |
|---|---|---|
| Matte | Understated, modern, less reflective | Living room, bedroom, large open-plan spaces |
| Satin | Gentle sheen, less sensitive to marks | Hallway, kitchen, home office |
| Glossy | Strong reflection, very elegant, shows dust sooner | Show kitchen, representative areas |
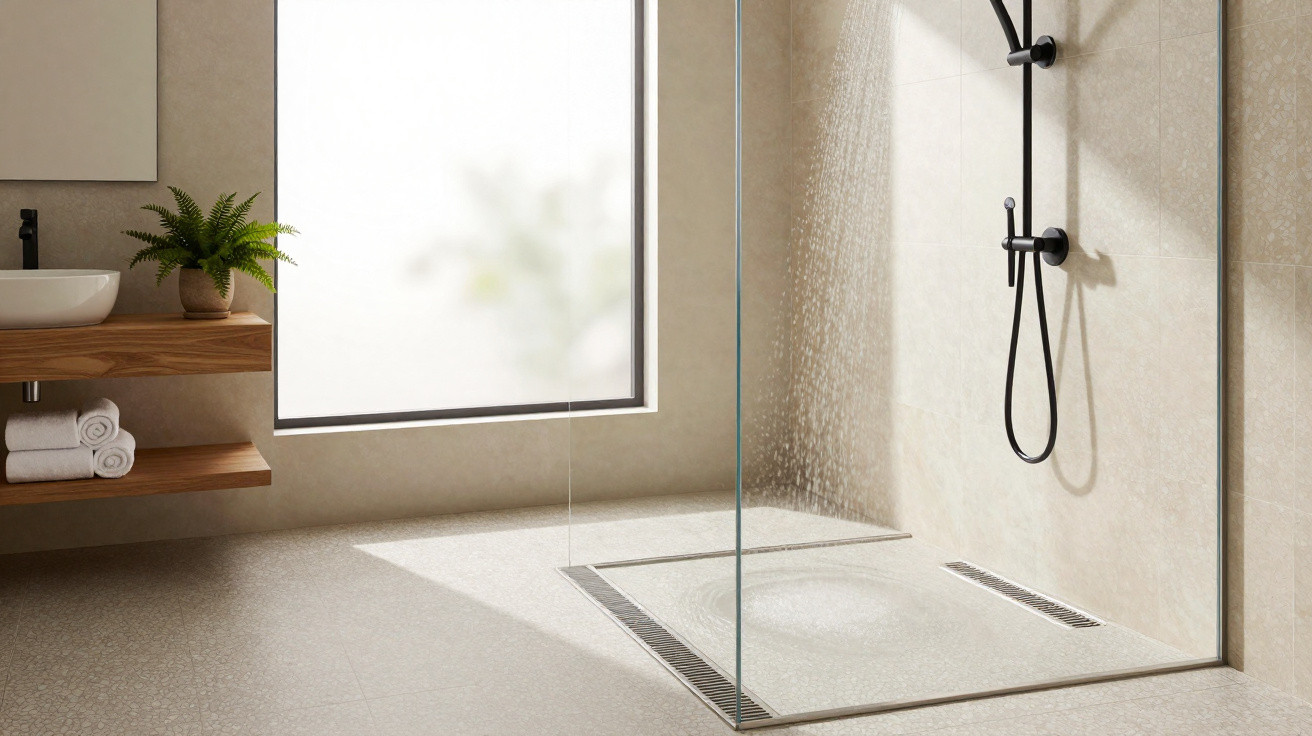
For showers, bathrooms or the area just inside the front door, it’s sensible to include a slip-resistant additive so the floor remains safe underfoot when wet. In living spaces, people more often choose a smoother surface that is particularly easy to wipe clean.
DIY or hire a professional: what actually makes sense
If you’re confident with DIY and the area is small and straightforward, a complete kit can be a practical option. Many DIY retailers and manufacturers sell sets where primer, resin and sealant are matched to each other. As a rough guide, these solutions start at around €18 per square metre, depending on product and quality.
For larger areas, awkwardly shaped bathrooms, or if you’re aiming for a very high-end visual result, using a specialist contractor can be worthwhile. Professionals know the typical pitfalls, apply the coating at the correct thickness and avoid roller or trowel marks. Costs for this type of work can quickly land between €100 and €150 per square metre-depending on area, material and the finish you want.
“If you’re aiming for a design-level finish in the living room, you’re usually safer with a specialist contractor than a quick weekend project.”
Benefits, limitations and potential pitfalls
A resin floor over old tiles solves a lot of issues, but it isn’t a cure-all. One key consideration is ceiling height: every additional layer raises the finished level slightly. In most homes this is barely noticeable, but in rooms with very low ceilings or tight door clearances, it’s worth calculating the build-up beforehand.
Another factor is durability. The surface is tough, but it isn’t indestructible. Heavy impacts, sharp edges or furniture without felt pads can leave marks. In day-to-day use, a little care goes a long way: protect chair legs, don’t drag a washing machine across the floor when moving, and avoid anything that could scratch.
Maintenance, day-to-day practicality and how long the floor lasts
In daily life, the main advantage of a seamless surface becomes obvious: cleaning is quicker, and there are no greyed grout lines that never quite look bright again no matter how much you scrub. For routine care, a neutral cleaner is usually sufficient; strongly abrasive products are best avoided to prevent unnecessary wear.
With solid preparation and sensible use, the floor can stay attractive for many years. Minor scratches or dull patches can be refreshed in some systems by applying a new top coat later. If you prioritise suitable furniture glides and an appropriate cleaning routine from day one, you can extend that lifespan significantly.
For anyone living with a dated tiled floor but lacking the time-or the patience-for a full-scale renovation, a liquid-applied coating is a serious option. It updates the look, reduces building work stress and brings a seamless aesthetic to rooms previously dominated by small-format beige tiles.
If you’re unsure, it can help to view sample areas first or test the system in an unobtrusive side room. That way you can get a better feel for texture, sheen level and colour before transforming the bathroom, kitchen or living room completely.

Comments
No comments yet. Be the first to comment!
Leave a Comment