
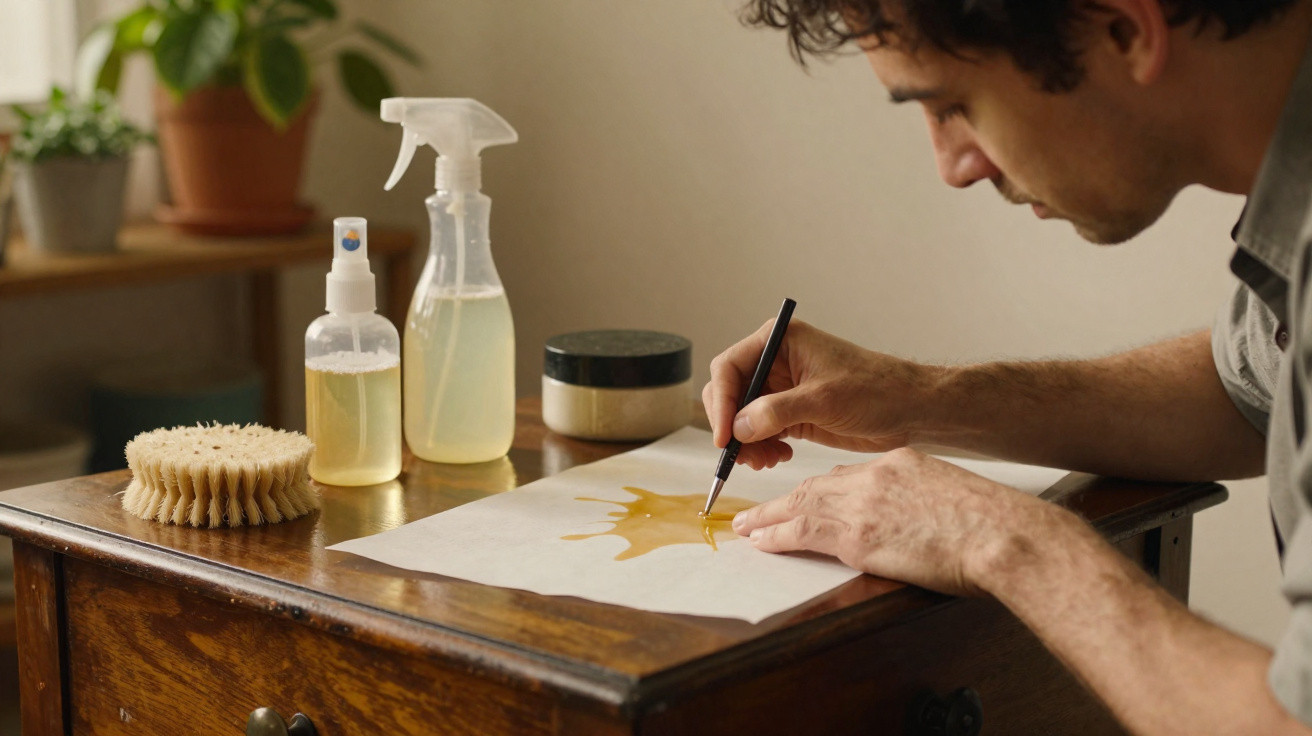
The video opens like a tiny miracle. In a gloomy garage, a tired dresser covered in scratches suddenly takes on a warm, golden look after a few passes with a “magic mix” tipped from a mason jar. The creator grins, the comments race in, and the caption declares: “Restore any wood in 5 minutes with this genius hack.”
By the time the clip ends, loads of viewers are itching to rummage through the cleaning cupboard.
A week later comes a different scene. Another dresser, now in an actual living room, sitting beside a houseplant that’s clearly struggling. The timber looks tacky, darker in odd patches, and marked by cloudy stains that refuse to shift. Off camera, someone grumbles that the smell still hasn’t gone.
The trick delivered for the video. It didn’t deliver for furniture you genuinely live with.
Across Facebook groups, TikTok, and Instagram Reels, the same “DIY wood rescue” template keeps resurfacing. Household oils, bits from the kitchen, plus some unexplained brown liquid-presented as a shortcut to proper restoration.
Now specialists are pushing back, and their warnings will change how you read every viral before-and-after in your feed.
Why this viral DIY wood hack is blowing up your feed - and your furniture
If you scroll for long enough, it’s inevitable: a hand massaging a milky mixture into a battered, scratched tabletop, while a voiceover promises “no sanding, no tools, just this simple trick.”
The exact recipe varies from clip to clip, but the pitch is consistent: combine a cooking oil, a splash of vinegar or lemon juice, perhaps a bit of dark stain or coffee, and call it a five-minute “restoration”.
On camera, it’s hugely convincing. The wood looks instantly darker, glossier, and more luxurious. Fine scratches seem to vanish under the shine. The creator sits back, satisfied, and the comments fill with “I’m doing this tonight” and fire emojis.
It’s compelling on a screen. In a home, the aftermath can be far less pretty.
In a private Facebook group for vintage furniture fans, one member shared a side-by-side set of photos. First: a mid-century teak sideboard-slightly parched, but still full of charm. Second: the same piece after trying the viral oil-and-vinegar approach.
The grain now looks smothered and dirty, and the sheen is patchy-like someone has rubbed sun cream into polished shoes.
“It felt greasy for days,” she wrote. “Then it started getting sticky where we touched it more. Now dust just glues itself on.”
Working refinishers in the thread were direct: this isn’t restoration-it’s harm that shows up gradually.
Conservators explain that these mixtures don’t “nourish” wood. Instead, they sit on the surface, seep into older finishes, soften them, and trap grime. The first-day glow is misleading because oil will temporarily deepen colour almost every time.
Underneath that brief improvement, the original finish may start to fail: veneer edges can begin to lift, wax can collect in corners, and routine cleaning becomes more difficult month after month.
It can get worse when the recipes pair acidic ingredients (such as vinegar or lemon) with oils and colourants. That combination can interact with older finishes and leave hazy patches or streaks that no microfibre cloth will sort out.
It’s restoration cosplay-persuasive in a 20-second clip, then quietly wrecking the pieces you actually care about.
What experts say to do instead of the “magic jar” mix
The people who make a living preserving heirlooms tend to be refreshingly straightforward. No secret blends, no mystery jars, and no kitchen chemistry.
Their first step with tired-looking wood isn’t a dramatic makeover-it’s a proper clean.
Most recommend either a gentle, pH-balanced wood cleaner or a few drops of mild washing-up liquid in warm water. Use a cloth that’s only slightly damp (never dripping) and wipe with the grain.
The point is to remove years of grease, smoke residue, and built-up polish-not to saturate the furniture.
Once everything is clean and fully dry, then you reach for the correct product, used lightly: a good-quality paste wax for finished surfaces, or a dedicated oil (such as Danish oil or tung oil) for genuinely bare wood.
Nothing cobbled together from the pantry. Nothing “secret” that avoids listing ingredients.
When dealing with a worn dining table, a restorer will usually start in an out-of-sight area. They’ll see how the finish responds, whether the surface takes oil in, or whether it simply needs protection from wax.
If they find flaking, peeling, or deep water marks set into the finish, they pause. That’s the point where sanding or professional refinishing becomes part of the discussion-not a DIY potion in a jar.
People buy into the viral mix because it offers an escape from the dull steps. No drying time, no test patch, no learning about wood species or finish types.
On a busy Tuesday night-after work and after washing up-a “five-minute miracle” can feel like a lifesaver.
On a forum for amateur restorers, one person said they tried the oil-and-vinegar hack on a cheap bookcase “just to see.” It looked alright initially, so they used it on a family cedar chest that had belonged to their grandmother.
A fortnight later, the chest showed uneven dark areas where the mixture had pooled, and a sweet, rancid smell began to creep in.
The professional responses didn’t sugar-coat it: the oils used in many of these mixes can go rancid, particularly if they’re cooking oils never intended to sit on timber long-term.
That tacky, slightly sour smell? That’s your “magic” becoming a layer of decomposing grease on top of the finish.
Some creators also stir in coffee grounds, tea, or dark stain to produce an instant “rich patina” effect. In a video, it reads as warmth and depth.
On real furniture, it often becomes streaking, blotchiness, and uneven dark patches that draw attention to old scratches rather than disguising them.
Professionals talk about restoration the way clinicians talk about treatment. You don’t use one tablet for every symptom. You assess the “patient”-here, the furniture-and work out what’s actually going on.
Is it solid timber or veneer? Is the coating lacquer, shellac, polyurethane, oil-wax? Are you seeing surface dirt, or true finish failure?
Each answer points to a different, proven approach. That might be refreshing shellac with alcohol, gently re-amalgamating a finish, or stripping and refinishing a badly damaged top.
The notion that one homemade brew can “fix anything” runs against what’s taught in restoration workshops and conservation studios.
One conservator compared the viral mixture to tipping random chemicals into a classic car engine because a TikTok claimed it “makes it run smoother.” It might sound better for a moment.
After that, the real trouble starts.
How to truly care for wood furniture without wrecking it
There’s a much quieter “hack” that rarely trends: sensible, slightly dull maintenance that genuinely works.
It begins with a simple routine-dusting with a soft, dry cloth.
That habit alone stops grit behaving like microscopic sandpaper every time you drop keys on a table or slide a vase across it. No product. No added shine. Just fewer scratches accumulating over time.
Then, once or twice a year, a proper refresh.
For many finished items, that refresh can be as simple as cleaning with a wood-specific cleaner and applying a thin layer of high-quality paste wax.
Work in small areas, apply with a soft cloth, let it haze, then buff until it feels smooth and dry-never oily.
For genuinely bare, dried-out wood-often seen on older, heavily worn tabletops or untreated pine-using the right furniture oil can help.
Apply sparingly, give it time to soak in, then wipe away any excess thoroughly so nothing remains on the surface to turn sticky later.
Let’s be honest: hardly anyone keeps up with this every day. Life gets hectic, and furniture fades into the background until something looks “bad enough” to deal with.
That’s part of why dramatic hacks catch on-they speak directly to that panic moment when you notice every mark at once.
On a human level, the guilt is familiar. One London-based restorer says many clients arrive with the same sentence: “I tried to fix it myself and made it worse.”
Alongside the embarrassment is the feeling you’ve let down the story attached to the piece-the wedding-present table, the inherited dresser, the flea-market find you promised you’d “do right”.
The best experts don’t pile on blame; they offer a restart. They’ll point out that professionals also learned through mistakes-just not on grandma’s armoire.
And they share a few straightforward rules that work even in a small flat with no workshop, no sander, and no specialist kit.
“It’s about doing less, but doing it right. Most of my job is undoing shortcuts.”
She regularly asks new clients to remember three basics:
- Test any product in a hidden spot before touching a visible surface.
- If it smells like the kitchen, keep it in the kitchen - not on heirlooms.
- Shine is not the same as health. Dry-but-sound wood often just needs gentle care, not a radical makeover.
That guidance doesn’t always go viral. It doesn’t arrive in a mason jar, and it won’t turn a wreck into a showroom piece in 10 seconds.
But it prevents more damage than any trending TikTok sound ever will.
The quiet backlash against quick fixes - and what you do next
As more people share stories of a “hack gone wrong”, a small shift is taking shape. Under viral videos, you’ll now spot cabinetmakers, restorers, and even museum conservators joining the comments.
They post long, detailed explanations of why a mixture might look good for a week and fail over a year.
What started as a supposed cleaning trick is turning into a wider argument about how we value objects in an endless-scroll world. Do we want furniture that photographs well for a day, or pieces that stay with us and age honestly, marks included?
At its core, it’s a question of patience in a culture hooked on instant results.
There’s also a small but meaningful trend: accounts that show the “boring middle”-the slow cleaning, the careful masking, and the candid mistakes. Their videos don’t always explode, but they build dedicated communities.
People compare notes, ask questions, and admit they were taken in by a hack that sounded too good to be true.
Practically speaking, the next time a magic wood-restoring mix appears in your feed, you may view it differently. You might wonder what finish the piece had, whether the creator shows the result a month later, and whether any professionals weigh in.
You might even wait a day before putting anything on that dining table where so many birthdays have been celebrated.
More personally, it can be a relief to accept that “not brand new” isn’t the same as “not worth caring for”. A scratch from a child’s toy, a ring from a late-night cup of tea, a softened patch on a chair arm where someone always sits-these aren’t failures.
They’re evidence of a life lived alongside timber that was never meant to be disposable.
So perhaps the real hack isn’t in a jar. Perhaps it’s in changing your relationship with your furniture: less like Instagram props to be polished into perfection, more like long-term companions that deserve careful, informed upkeep-even if it’s slower, messier, and rarely camera-ready.
On screen, that’s not as attention-grabbing. At home, it changes everything.
| Key point | Detail | Why it matters to you |
|---|---|---|
| Viral hacks are misleading | Oil–vinegar mixes and colourants hide flaws for a few days but break down finishes | Helps you avoid damaging furniture that may be irreplaceable |
| Real restoration is specific | Each wood type and finish needs a dedicated, tested method | Helps you choose the right approach rather than a “one-size-fits-all” fix |
| Simple prevention works | Regular dusting, suitable cleaner, quality wax or oil | Extends a piece’s life without unnecessary cost or risk |
FAQ:
- Is the viral oil-and-vinegar hack ever safe to use? Not on valuable or sentimental pieces. At best it gives a short-term shine; at worst it softens finishes, attracts dust, and can turn sticky or rancid over time.
- How do I know if my furniture has a finish or is bare wood? Lightly rub an inconspicuous area with a damp cloth. If water beads, there’s a finish. If it soaks in quickly and darkens immediately, it’s likely bare or very worn.
- What’s a simple, safe routine for wood furniture care? Regular dusting with a soft cloth, gentle cleaning with a dedicated wood cleaner when needed, and an occasional thin coat of quality paste wax or suitable oil, depending on the finish.
- Can I undo damage from a bad DIY hack? Sometimes. A professional may be able to remove oily build-up and revive the finish, but in many cases the surface needs refinishing. The sooner you stop using the hack, the better.
- When should I call a professional restorer? If the piece has sentimental or market value, visible veneer, deep water rings, peeling finish, or if you’re unsure what it’s coated with, professional advice can prevent costly mistakes.





Comments
No comments yet. Be the first to comment!
Leave a Comment