
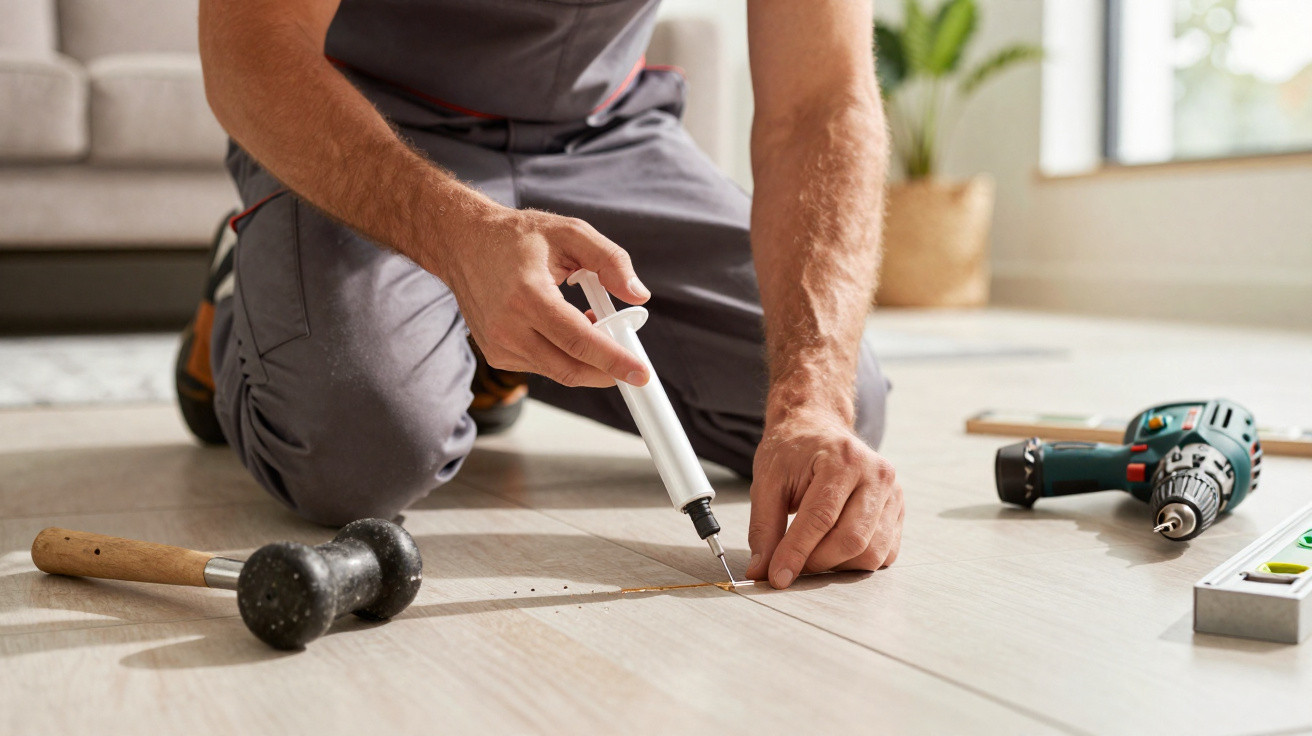
Sometimes, though, taking a hammer and cold chisel to the floor is completely unnecessary.
Anyone who has walked across tiles that sound hollow will recognise that uneasy feeling: is it just something shifting underneath, or is the floor about to fail? Many homeowners immediately brace themselves for dust, noise and the cost of laying a new floor. Yet there’s a surprisingly straightforward technique that can often save hollow tiles for good-without breaking out a single one.
When tiles sound hollow: how to read the warning signs
A hollow sound usually happens when a tile partially detaches from the screed beneath. A void forms between tile and substrate, amplifying the sound underfoot. The surface can still look perfectly fine-while the bond underneath has been compromised.
"A hollow sound usually means the tile has partly lost its adhesion to the screed surface-not necessarily that it must come out immediately."
Even so, it’s worth listening carefully and checking the floor methodically. The larger the hollow area, the greater the chance the ceramic will eventually crack.
How to check whether the damage is still acceptable
A quick test will tell you how serious it is. All you need is a rubber mallet or the handle of a screwdriver.
- Identify the suspect tile (where does it sound hollow?).
- Gently tap the tile and the immediate area around it.
- Listen for changes in sound: solid, dull, or clearly hollow.
In many cases, only part of the tile has come loose-around 10 to 30 percent of the surface. Tiles like this can often remain in place for years without breaking; they’re mainly noticeable because of the noise.
It becomes risky when more than about half the tile sounds hollow. At that point it’s essentially being held only by grout and leftover adhesive. A dropped pan, a sudden point load, or everyday wear can cause it to crack-or even shatter.
Critical zones: where tiles must not move
Where the hollow tile sits matters just as much as how large the void is. Not every hollow tile presents the same level of risk.
Areas that are particularly sensitive include:
- Hallways and entrance areas
- In front of the sink and hob in the kitchen
- Around the shower or bath
- Transitions into other rooms
These spots see frequent high loads: hard heels, wet shoes, heavy shopping, children playing. A tile without solid support underneath is repeatedly stressed there-and is far more likely to break.
If the hollow area is under a cupboard, in a corner, or behind a door, the tile may stay unnoticed for a long time. In those cases, repair is most worthwhile if the noise bothers you or small cracks are already visible.
Resin injection instead of a building site: the smarter alternative to chiselling tiles out
In the past, the standard approach was: carefully lift the tile, remove adhesive residue, re-bond it, and re-grout. It’s messy, noisy and time-consuming-and the tile often breaks during removal.
This is exactly where a modern method comes in, now used increasingly by both professionals and competent DIYers: injecting a low-viscosity resin or epoxy compound beneath the loosened tile.
"Rather than removing the tile, a special resin is pressed through the grout line into the void beneath, bonding everything back into a solid block."
Why the resin method avoids so much hassle
The main benefit is that the visible surface remains untouched. Nothing is broken out, there’s no extensive masking up, and no dust cloud drifting through the living room.
Resin injection offers several advantages:
- No removal: the tile stays in place and keeps its appearance.
- Minimal mess: only a few tiny holes in the grout line, no tile rubble.
- Lower risk: the tile itself isn’t prised up, so it’s far less likely to be damaged.
- Quick return to use: once cured, the floor can take full load again.
- Cost saving: no need to rebuild the whole floor.
If you no longer have spare tiles in the garage or cellar, this is often the only way to keep the floor looking consistent.
How it works in practical terms
Typically, a very low-viscosity epoxy resin or a specialist repair adhesive is used. The texture is closer to oil than traditional tile adhesive, which allows it to flow easily into the voids beneath the tile.
As it cures, the resin bonds the back of the tile firmly to the substrate again and fills any air pockets. The area effectively becomes one continuous unit. The result: no springiness, no hollow sound-and a much lower risk of cracking.
Step by step: how resin injection is carried out
With a bit of hands-on experience, you can attempt the method yourself. Many specialist trades also offer it as a service.
1. Drill small holes in the grout lines
First you need access to the void. Rather than drilling into the tile itself, professionals use the grout lines. This protects the surface and makes the repair almost invisible afterwards.
- Pinpoint the suspect tile precisely and confirm by tapping.
- Using a 2–3 mm masonry bit, drill directly into the grout line-around the affected tile, typically two to four holes.
- Drill only deep enough to reach the void; do not drill into the screed.
- Vacuum out the drilling dust thoroughly so the resin can spread properly.
The holes are tiny and can be sealed later with fresh grout. Visually, very little evidence of the work remains.
2. Inject the resin slowly and fill the void
Next, the liquid resin is pressed into the prepared holes using a fine nozzle, cartridge or syringe.
The key is to work slowly and with control: the resin needs time to travel under the tile. The void is filled when material starts to appear at another hole or you feel clear back-pressure.
For larger hollow areas, it helps to use several holes in sequence to achieve an even spread. Any resin that overflows should be wiped off immediately with a suitable solvent. Once epoxy cures, it is extremely difficult to remove.
Apply pressure, allow it to cure-done
To keep the tile exactly in position while the resin cures, it needs weight on top. Many tradespeople use bottles of water, toolboxes, or a stack of books over the area.
"24 to 48 hours of even pressure is usually sufficient for the resin to cure fully and for the tile to sit firmly against the screed again."
After curing, the small holes in the grout can be closed with fresh grout. With the right colour match, the repair is practically invisible. If you tap the area again with a rubber mallet, you’ll usually hear the difference straight away: solid, firm, no hollow sound.
When the method is ideal-and when it isn’t
Resin injection is particularly well suited to these situations:
- Individual tiles or small groups sound hollow, while the rest of the floor is sound.
- The room has expensive tiles or tiles that are difficult to source.
- The area needs to be usable again quickly, without major disruption.
- The appearance and grout pattern of the existing floor should be preserved.
The technique has limits where tiles are already clearly cracked, have sunk noticeably, or are loose across a large area. If whole sections of a room are affected, a more comprehensive refurbishment is often unavoidable.
What the terms mean-and what DIYers should watch out for
Many products are labelled “epoxy resin”, “injection resin” or “repair adhesive”. What they have in common is that two components are mixed and then cure through a chemical reaction. Once cured, these materials are very hard, yet in liquid form they are thin and flow readily.
If you do the work yourself, plan on safety glasses, gloves and good ventilation. The material is highly adhesive and can irritate skin and eyes. Indoors, work carefully and follow the manufacturer’s guidance on pot life and curing times.
There’s also a sustainability angle: every square metre of tiled floor that doesn’t need to be ripped out and disposed of saves resources, energy and waste. And often, a small targeted repair is enough to give an ageing floor many more years of service-without a breaker, without dust clouds, and without renovation stress.






Comments
No comments yet. Be the first to comment!
Leave a Comment